


Sharing details of our sweet + simple Frozen themed birthday party.
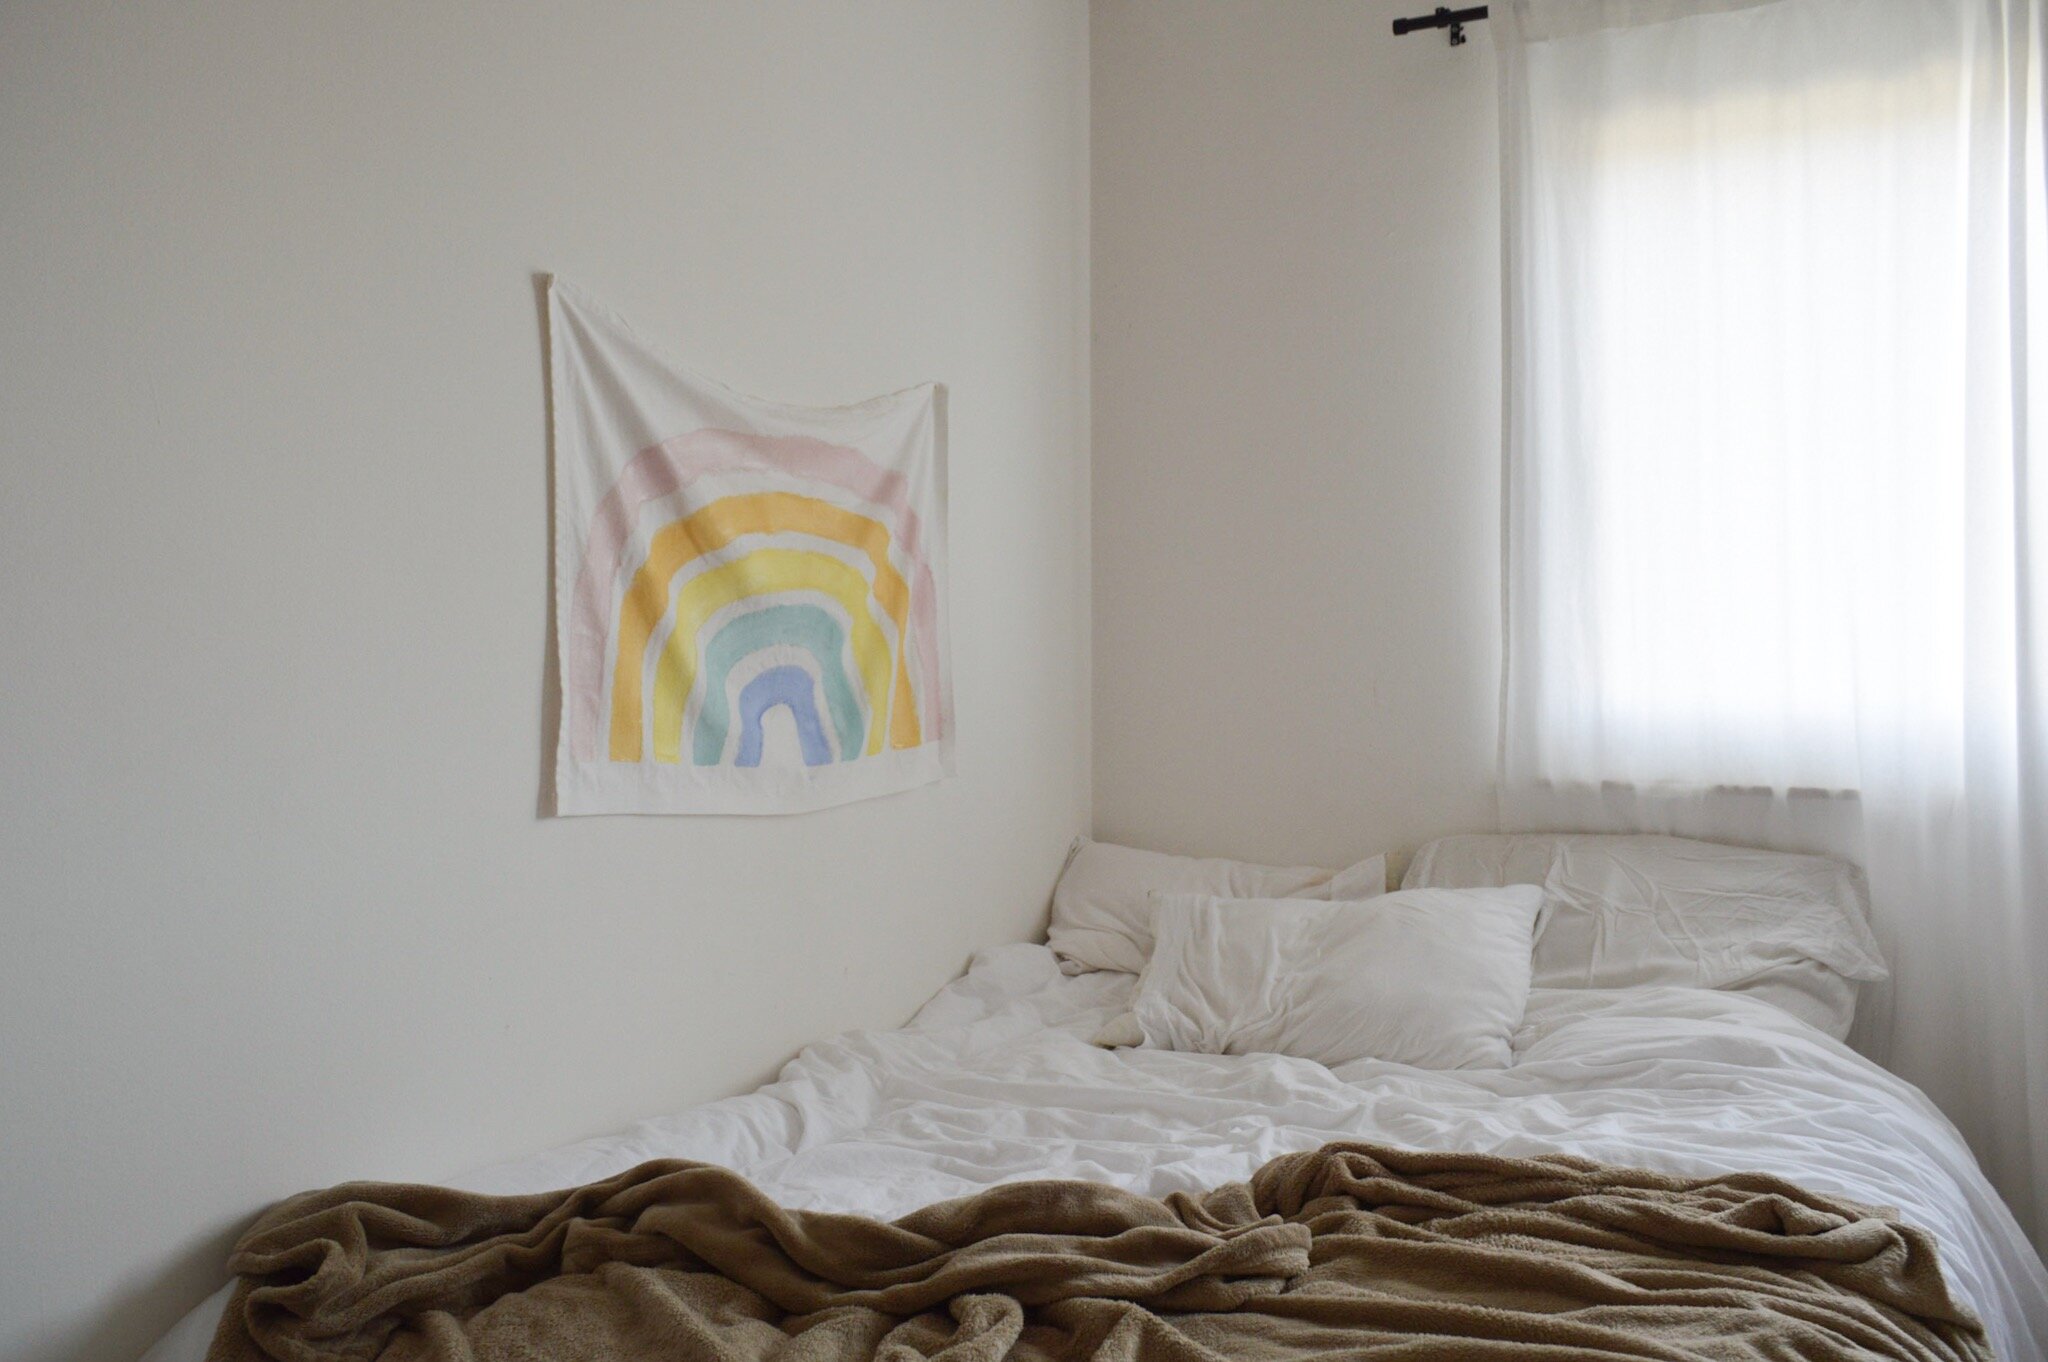
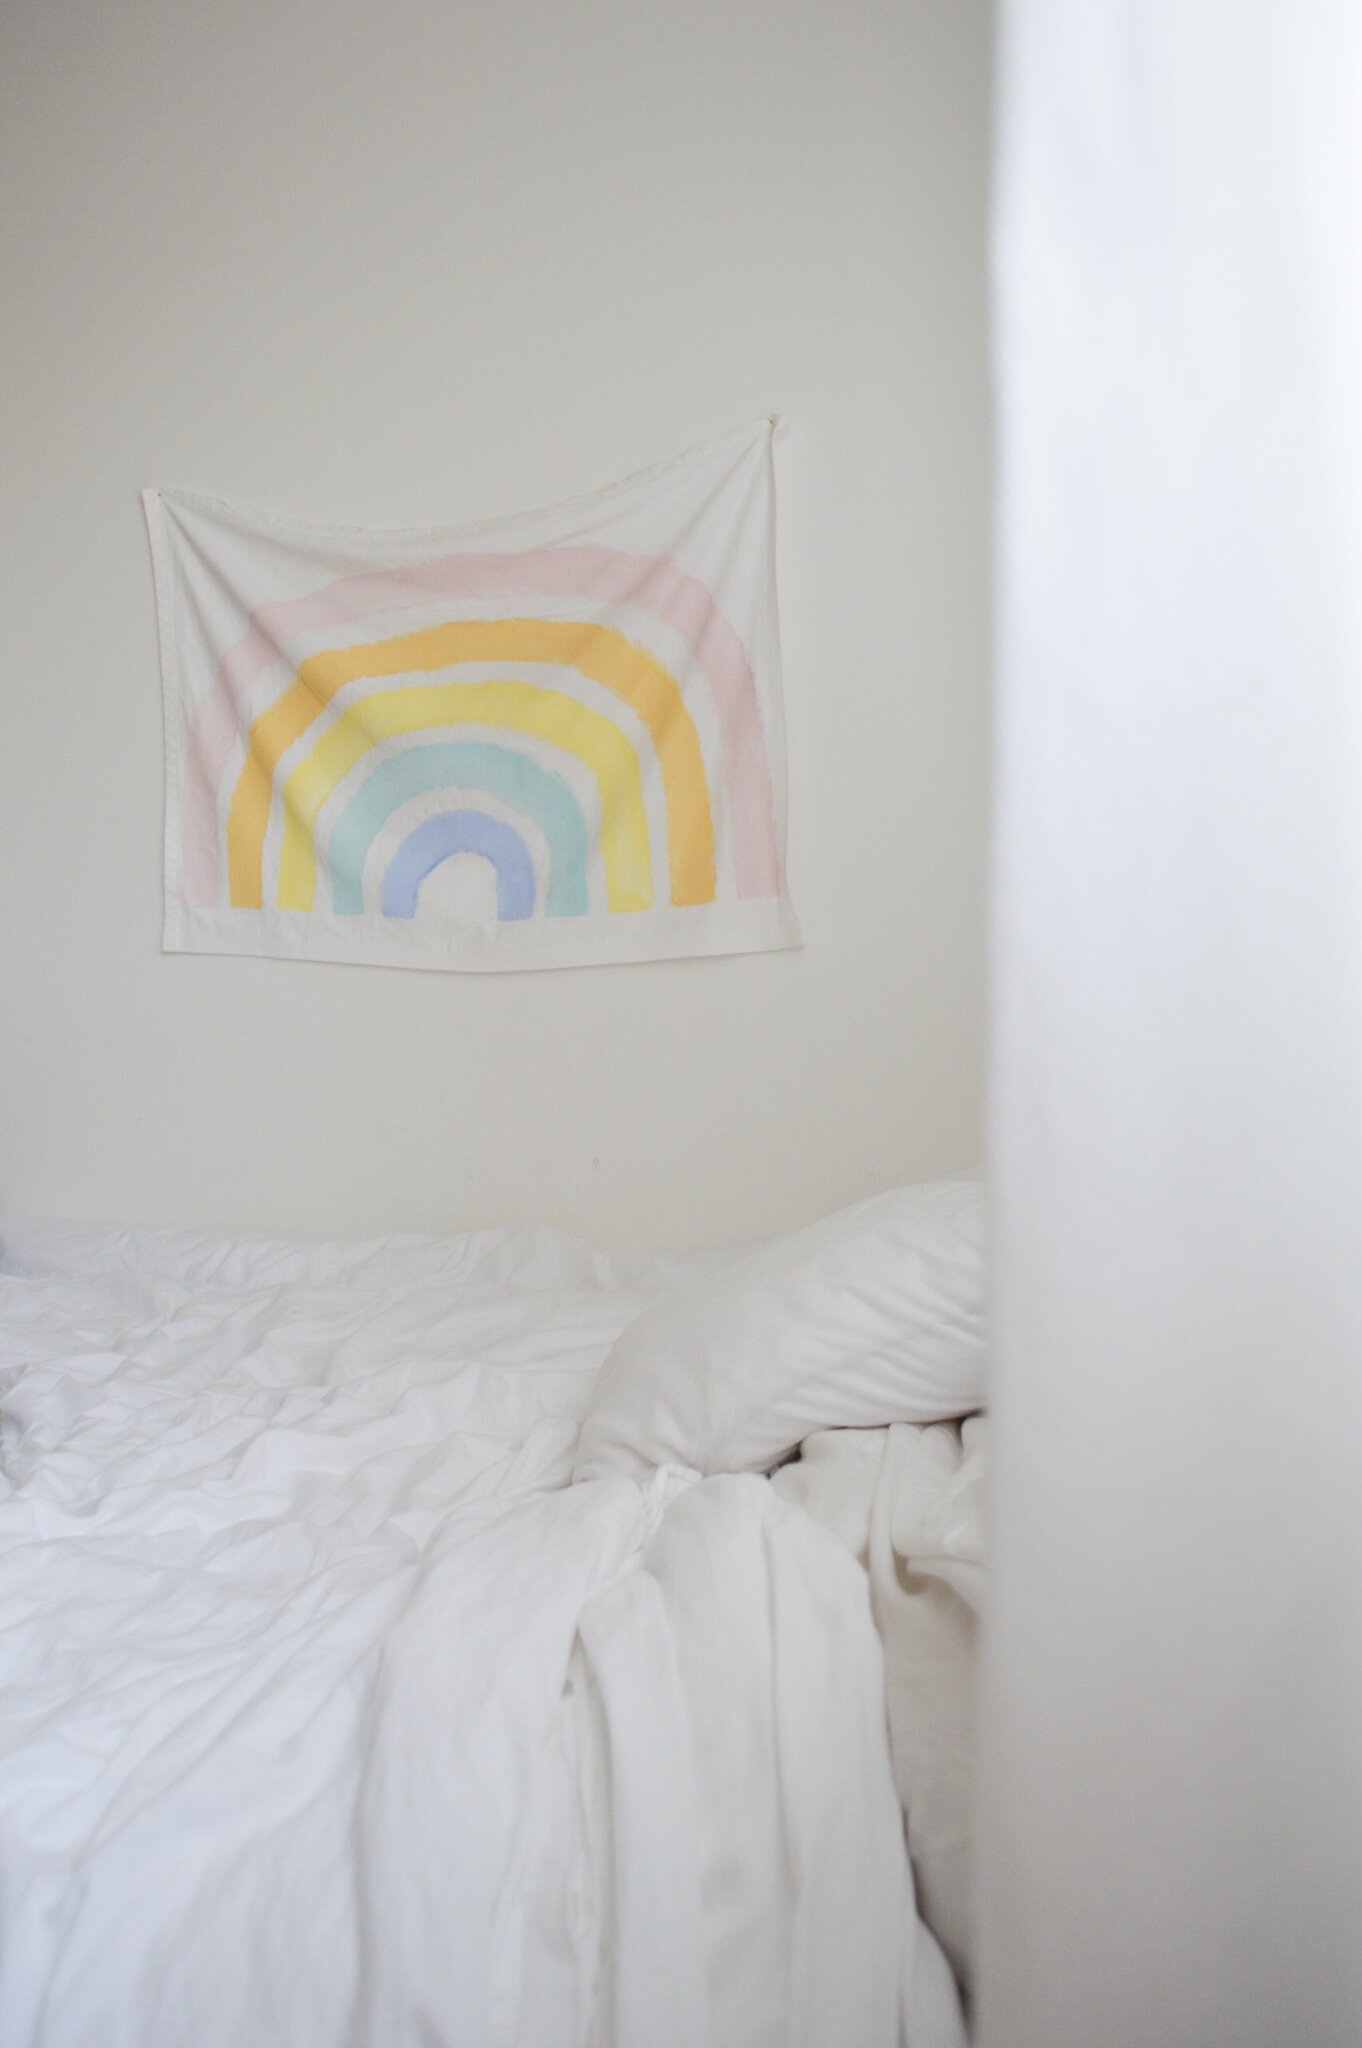
I’ve been so intentional with our home in the last few years (letting go of things we didn’t love + trying to create more functional/meaningful/beautiful spaces). It usually means dealing with blank white walls until I find something I love AND can afford. And sometimes it means making that thing instead 🌈 That’s how I ended up making this DIY rainbow tapestry!
TIP: To see a video of this project, head to my Instagram and click on the DIY Rainbow highlight!!


This was one of those spur-of-the-moment late night projects that just sort of materialized … it took MAYBE 20 minutes. I didn’t overthink it or make a plan. And somehow I love it even more for how easily it came together.
Here’s what you’ll need to make your own …
Cotton/Linen Fabric size 26”H x 38”W (make sure to include an extra inch on each side for hemming - the finished project is 24”H x 36”W)
Fabric Paint in a variety of colors
Paintbrush (40mm)
Tape
Scissors
Hem Tape
Nails/Hammer for Hanging
Start by measuring + cutting your fabric to the right size and hem each side. If you don’t know how to hem the traditional way, hem tape is a simple/cheap alternative!
Next, quickly iron your fabric and secure it for painting. Tape it to a safe surface (like a large piece of cardboard) by running a long piece of scotch tape across the top (about 2 inches from the top edge). Do the same along the bottom and mark the middle of each piece of tape for reference.
For my project, I used acrylic paint. It’s the only thing I had on hand & looks great BUT I highly recommend using fabric paint. Just follow the instructions on the back of the product!
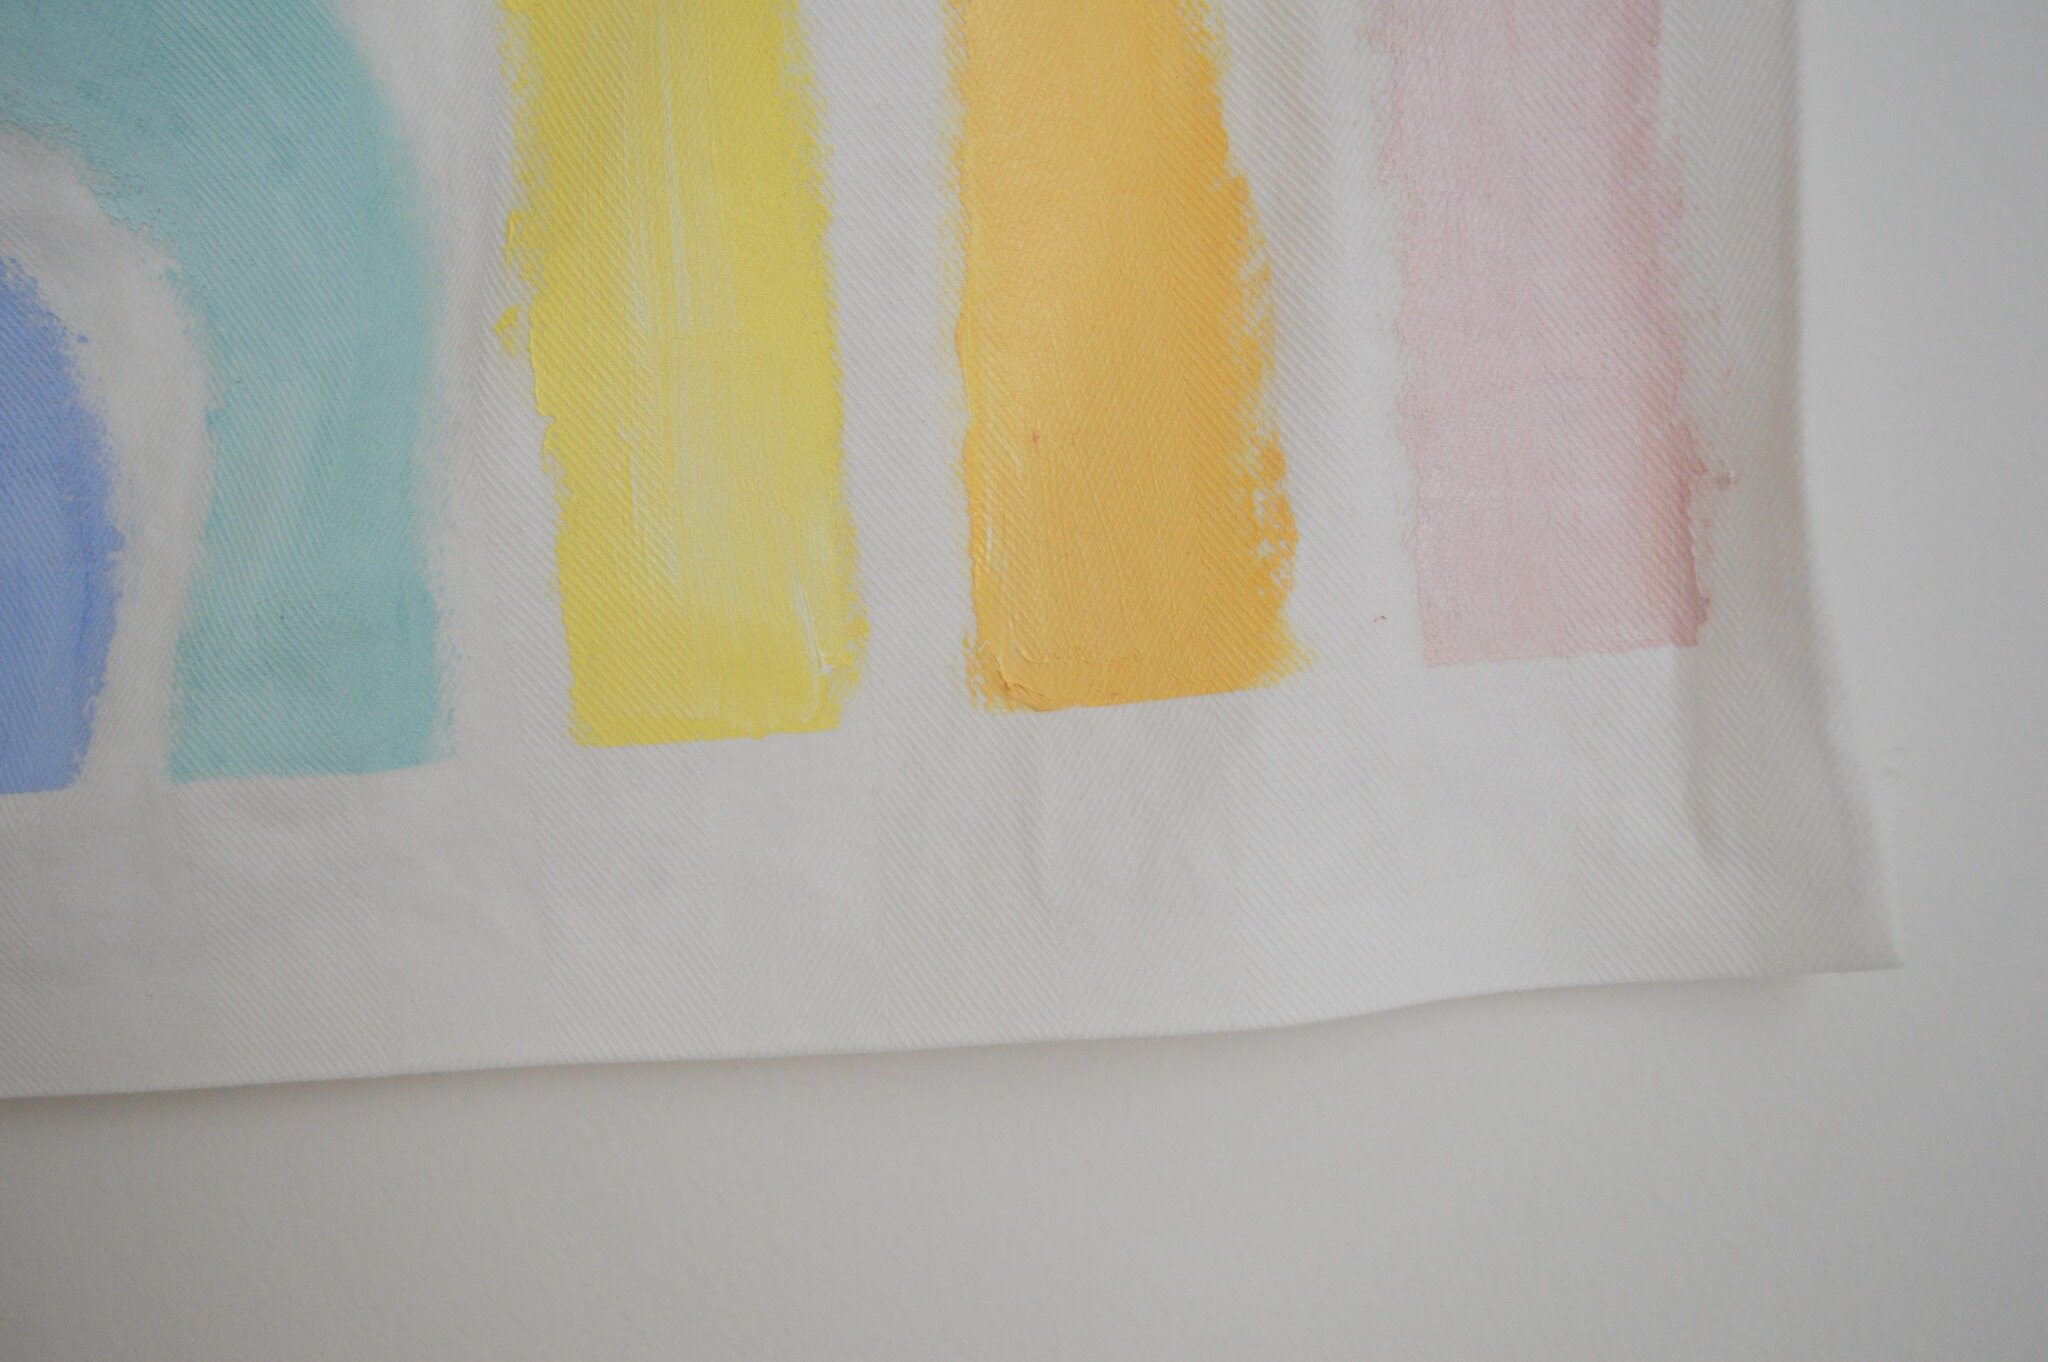
When picking my colors, I used darker/medium shades of pink, orange, yellow, sea green, and blue. Then I blended each color with white paint until I found the shade I was looking for. Have fun with it! Remember you can tie in colors that accent your room - you don’t have to stick with the pallet I’ve used!
Use the right size paintbrush.
Keep your brush flat against the fabric as you paint.
Start with the littlest arch and work your way out.
Prep the color for the littlest arch (I mixed dark blue + white). Don’t worry about mixing it perfectly - just blend quickly and move on!

When painting, place your brush flat against the tape that’s running across the bottom of your tapestry. I started with the inside of my paint brush about 2-3 inches from center. Then, keeping the brush flat against the fabric, make your first arch.

Don’t overthink it or try to measure everything perfectly. Part of it’s charm is that it’s NOT perfect. I just painted an arch, moved over an inch, and painted another arch. You can always do a test run on paper or try to mark where each arch begins + ends … but it doesn’t have to be that complicated. (This is coming from a girl who overcomicates everything … so if you can relate, just TRY to trust me here.)
Once you’re done painting, peel the tape off the top + bottom, let it dry, and hang it on the wall using two nails.


I hope you guys have fun making this rainbow tapestry. Let me know if you have any questions and tag me on Instagram using @laceandlu so I can check our your creations!!
With love,
Lace
Happy 4th of July everyone!
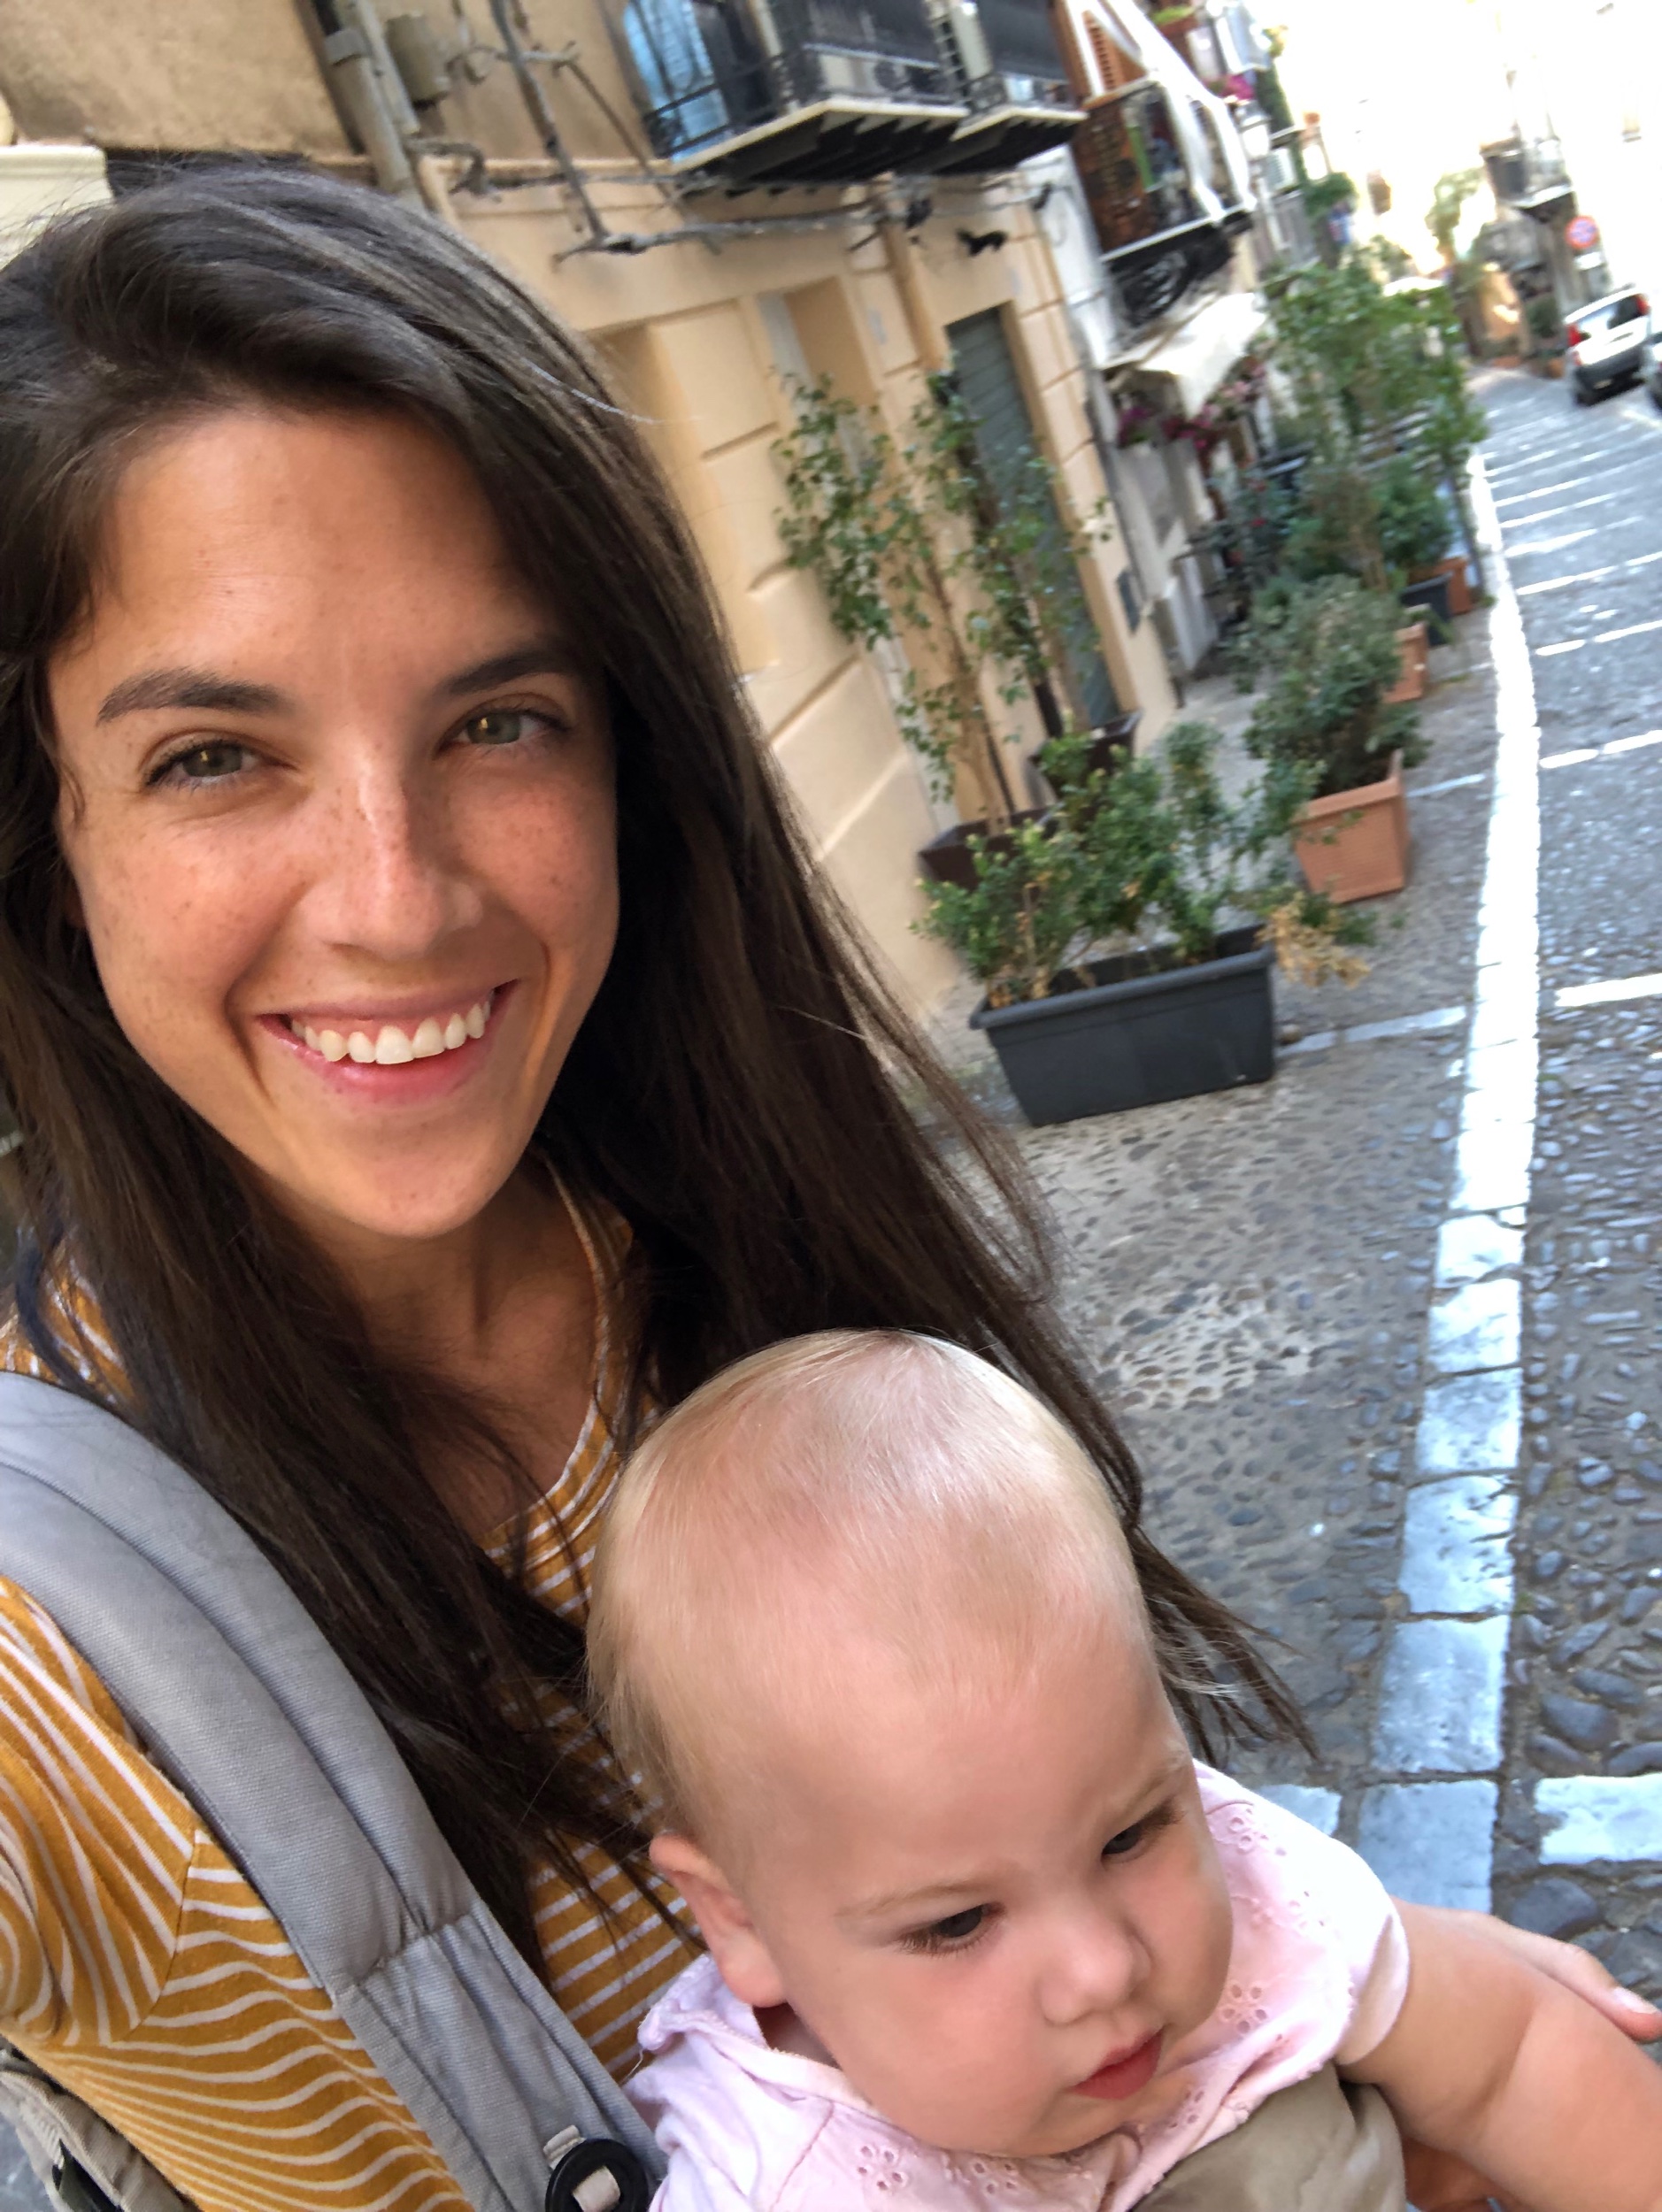
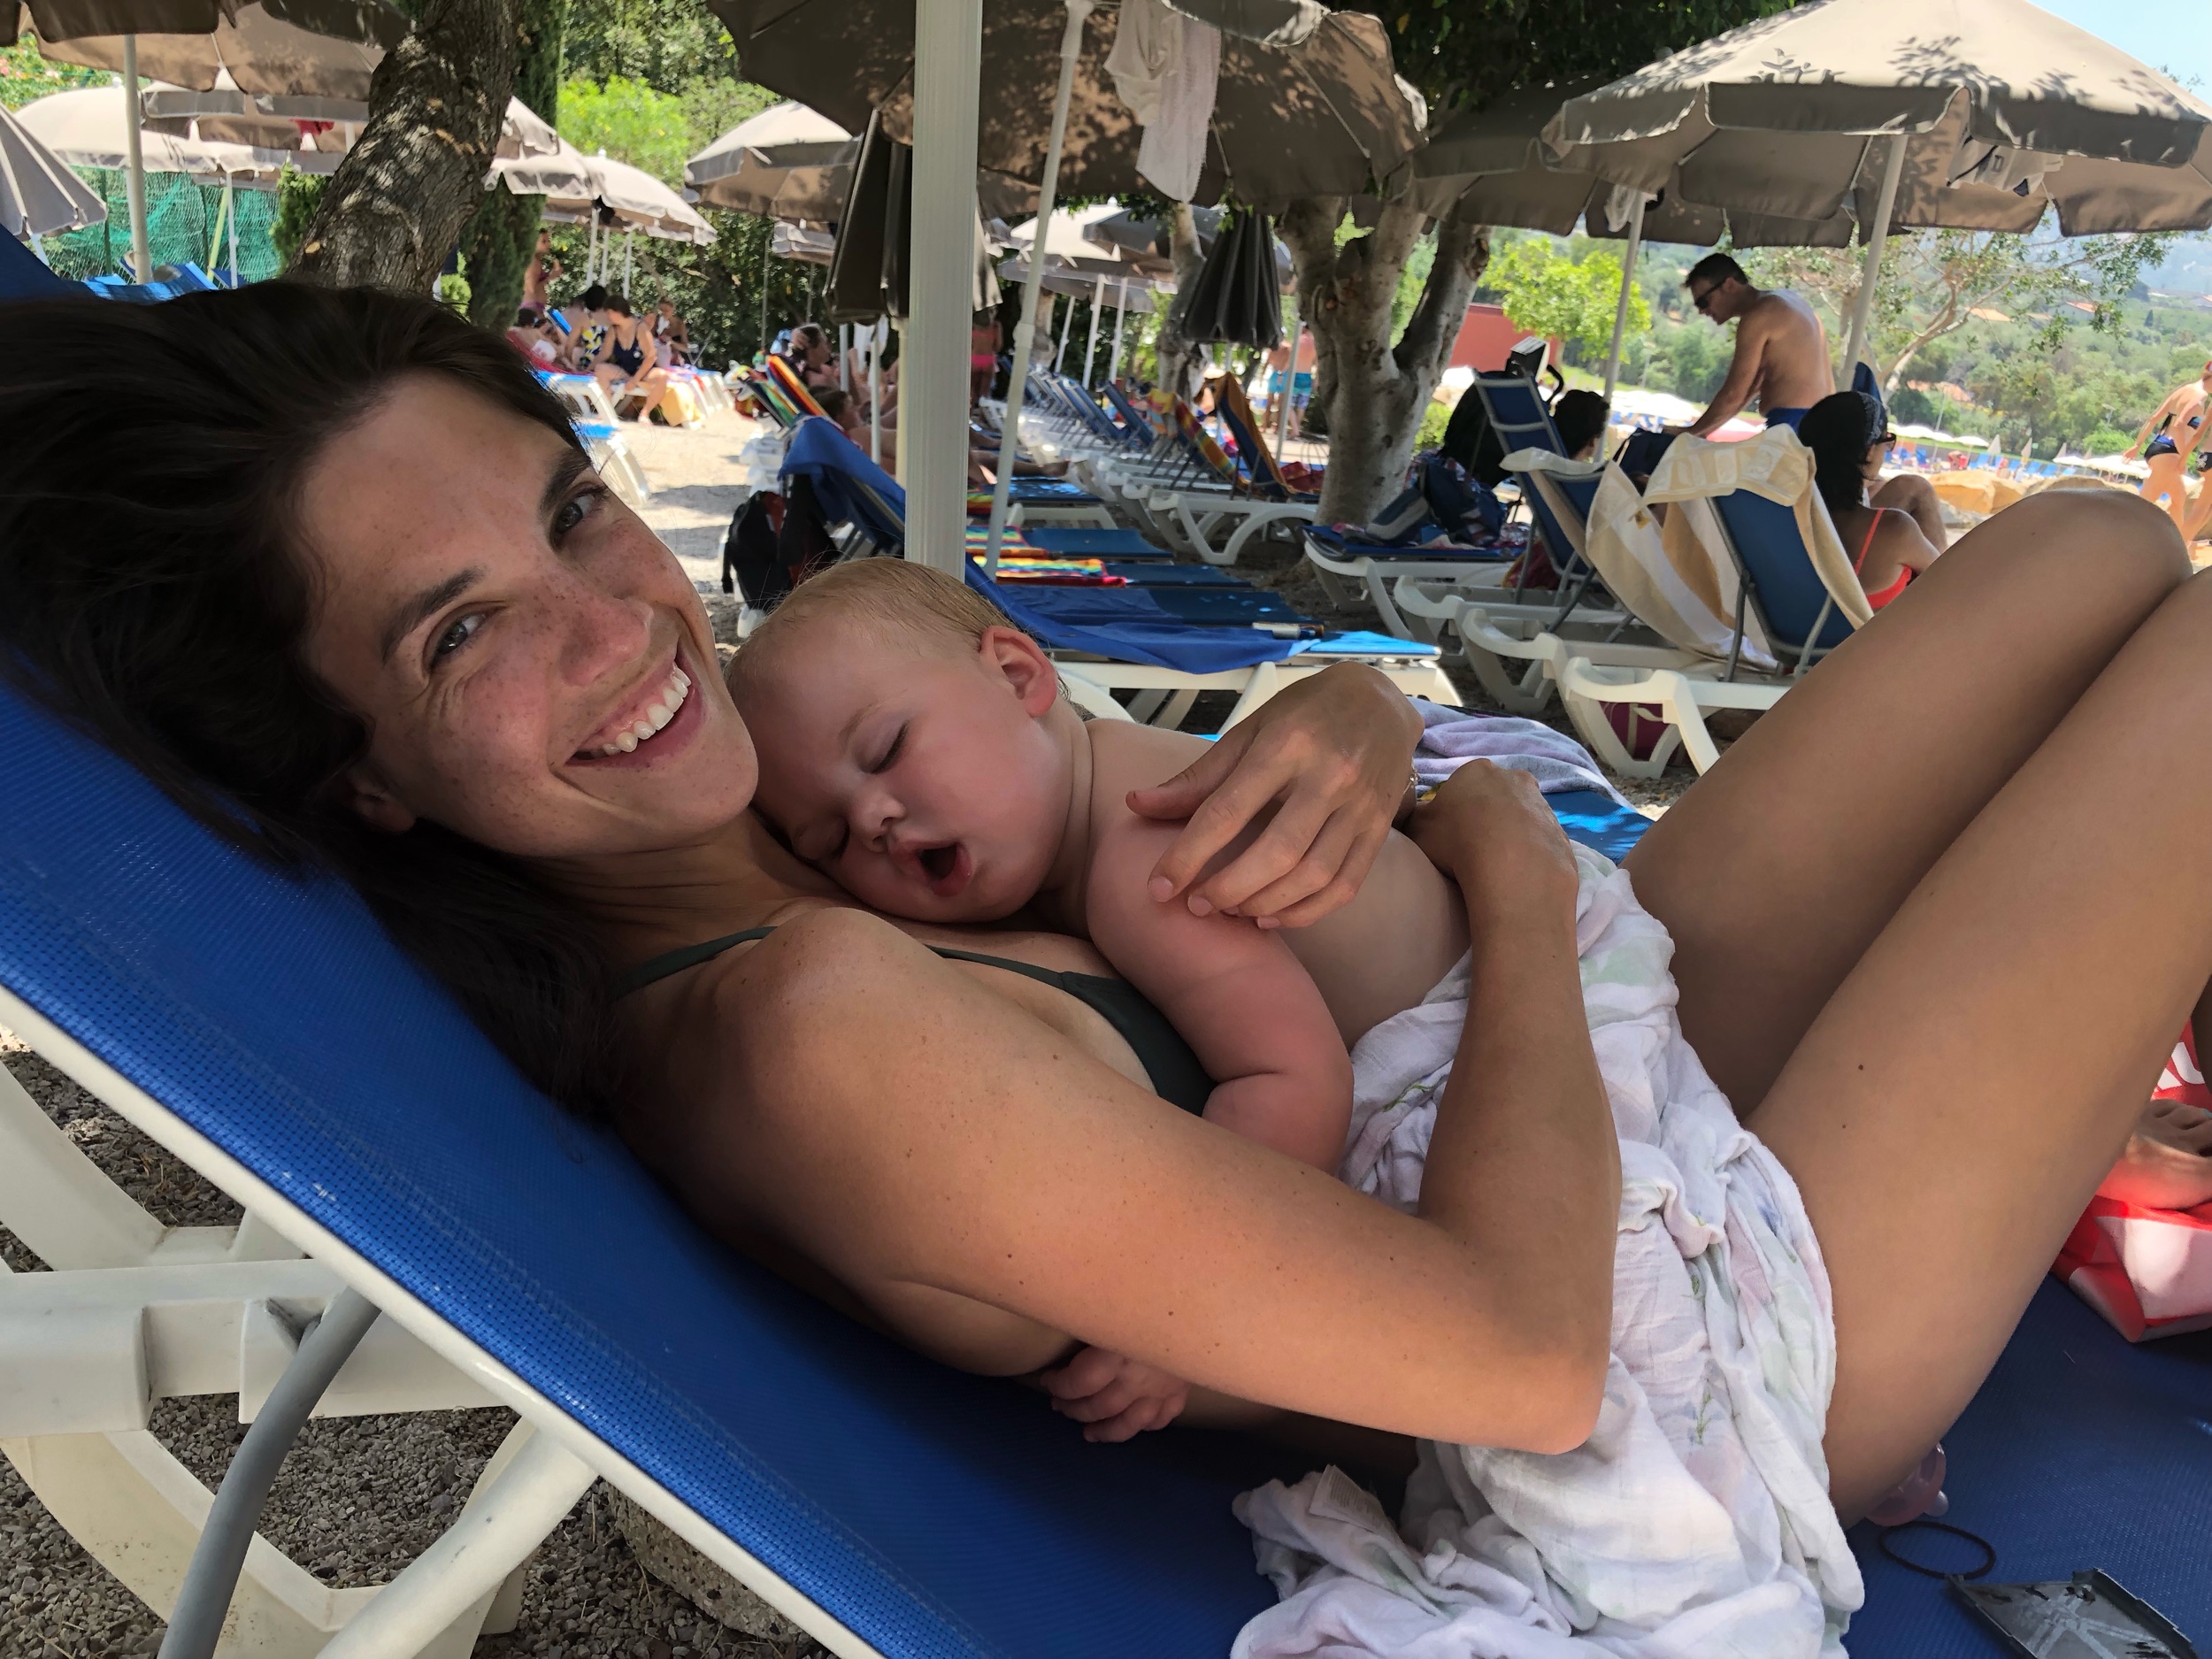
I know - I’m late. Again! I feel like I’m always apologizing for these things. But we were in Cefalu for the weekend and I try realllllly hard to stay off my phone while we’re on vacation. Still took pictures but otherwise I was just kind of offline :)
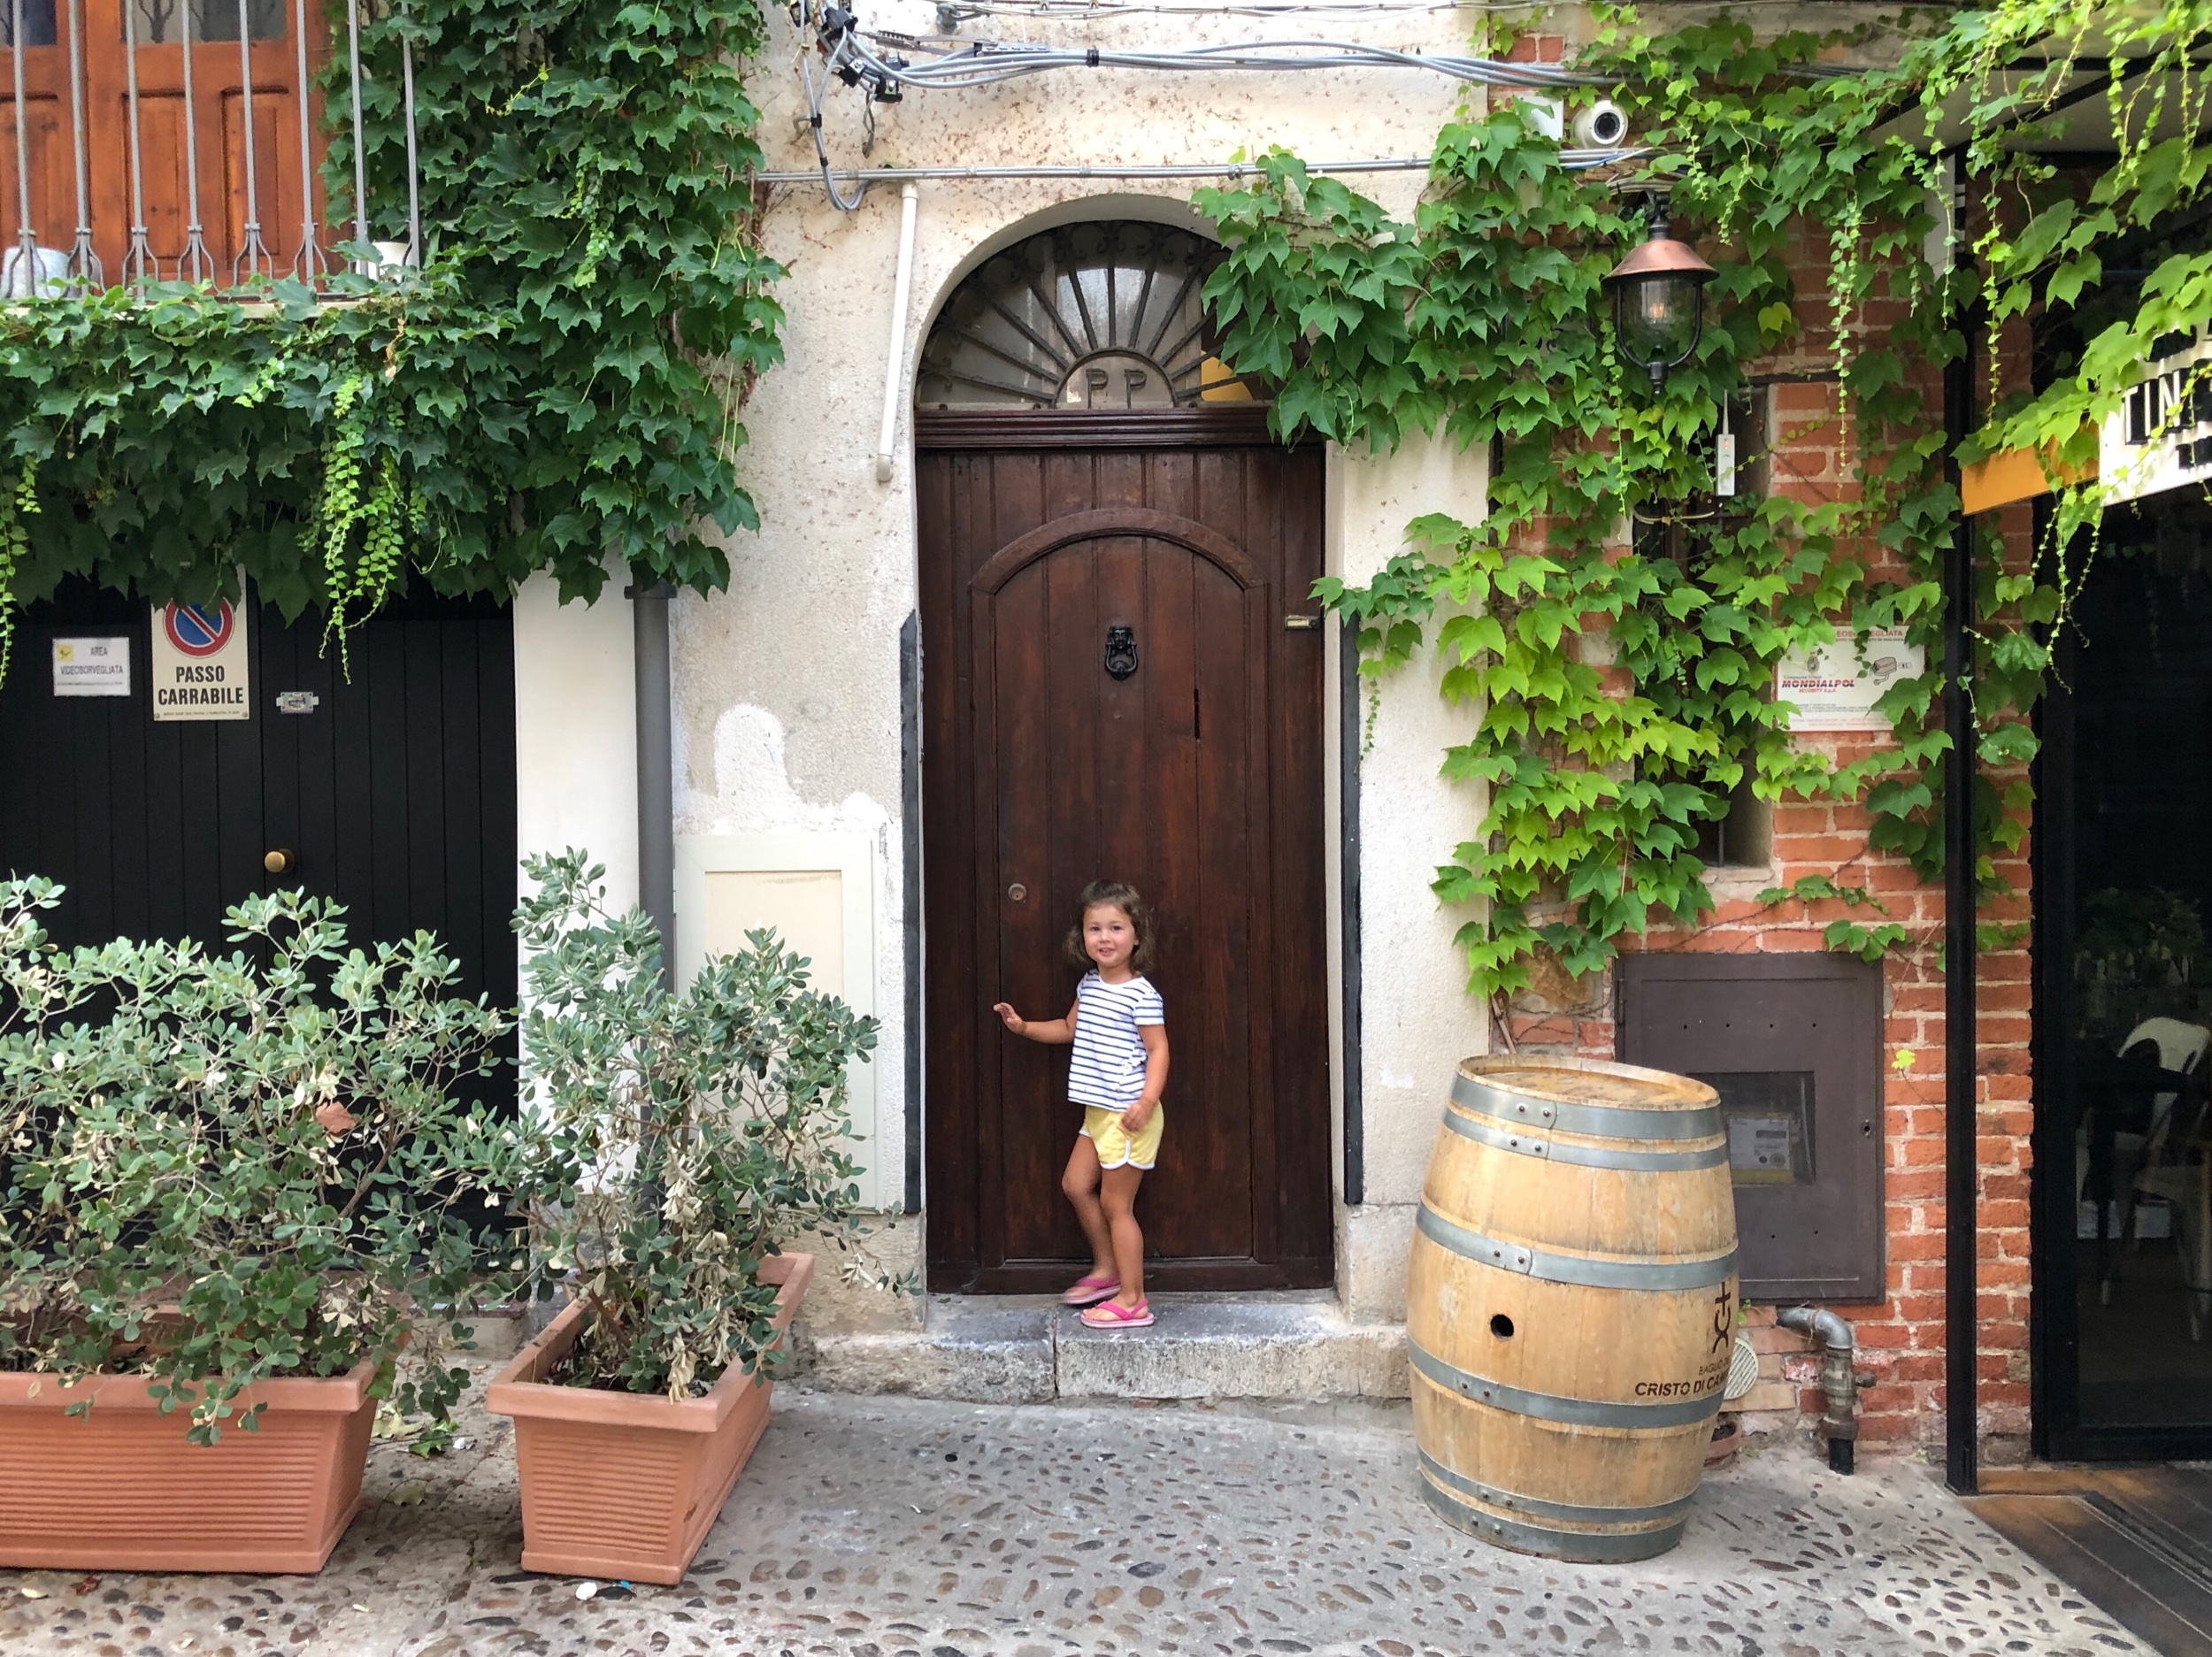
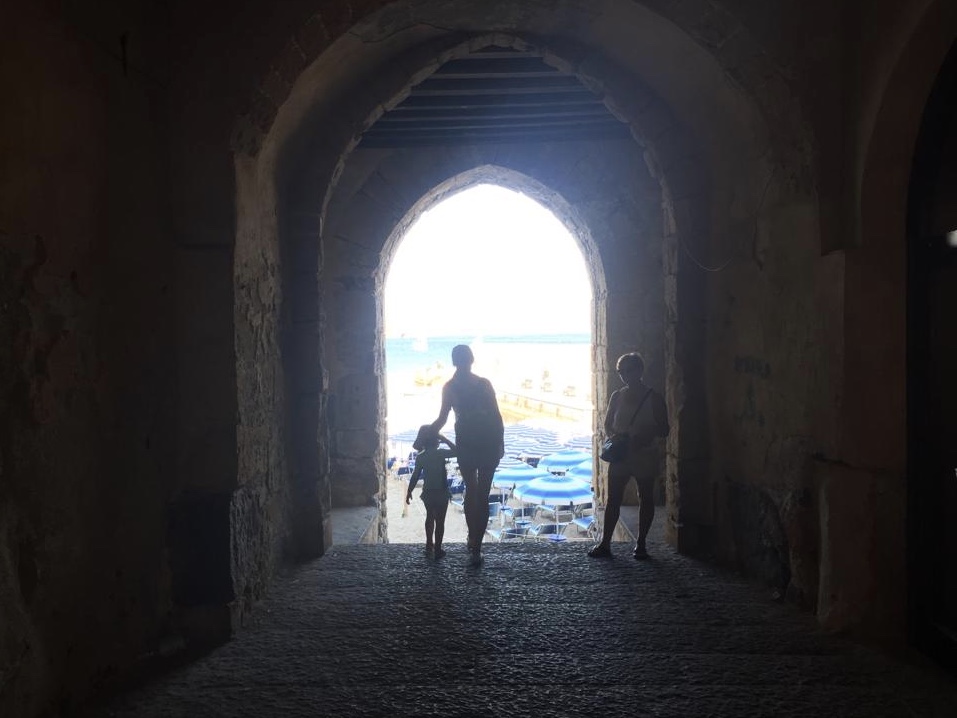
Cefalu is a coastal town in Sicily that sits in the shadow of this rocky outcrop. It’s only a few hours from our house and really cute! Lots of little shops, cobbled streets, an old cathedral, a long stretch of beach, a stone pier, and a water park. It’s one of those places where you can walk around and find cool things to see without even trying. This was the entrance to the Air B&B where we stayed!

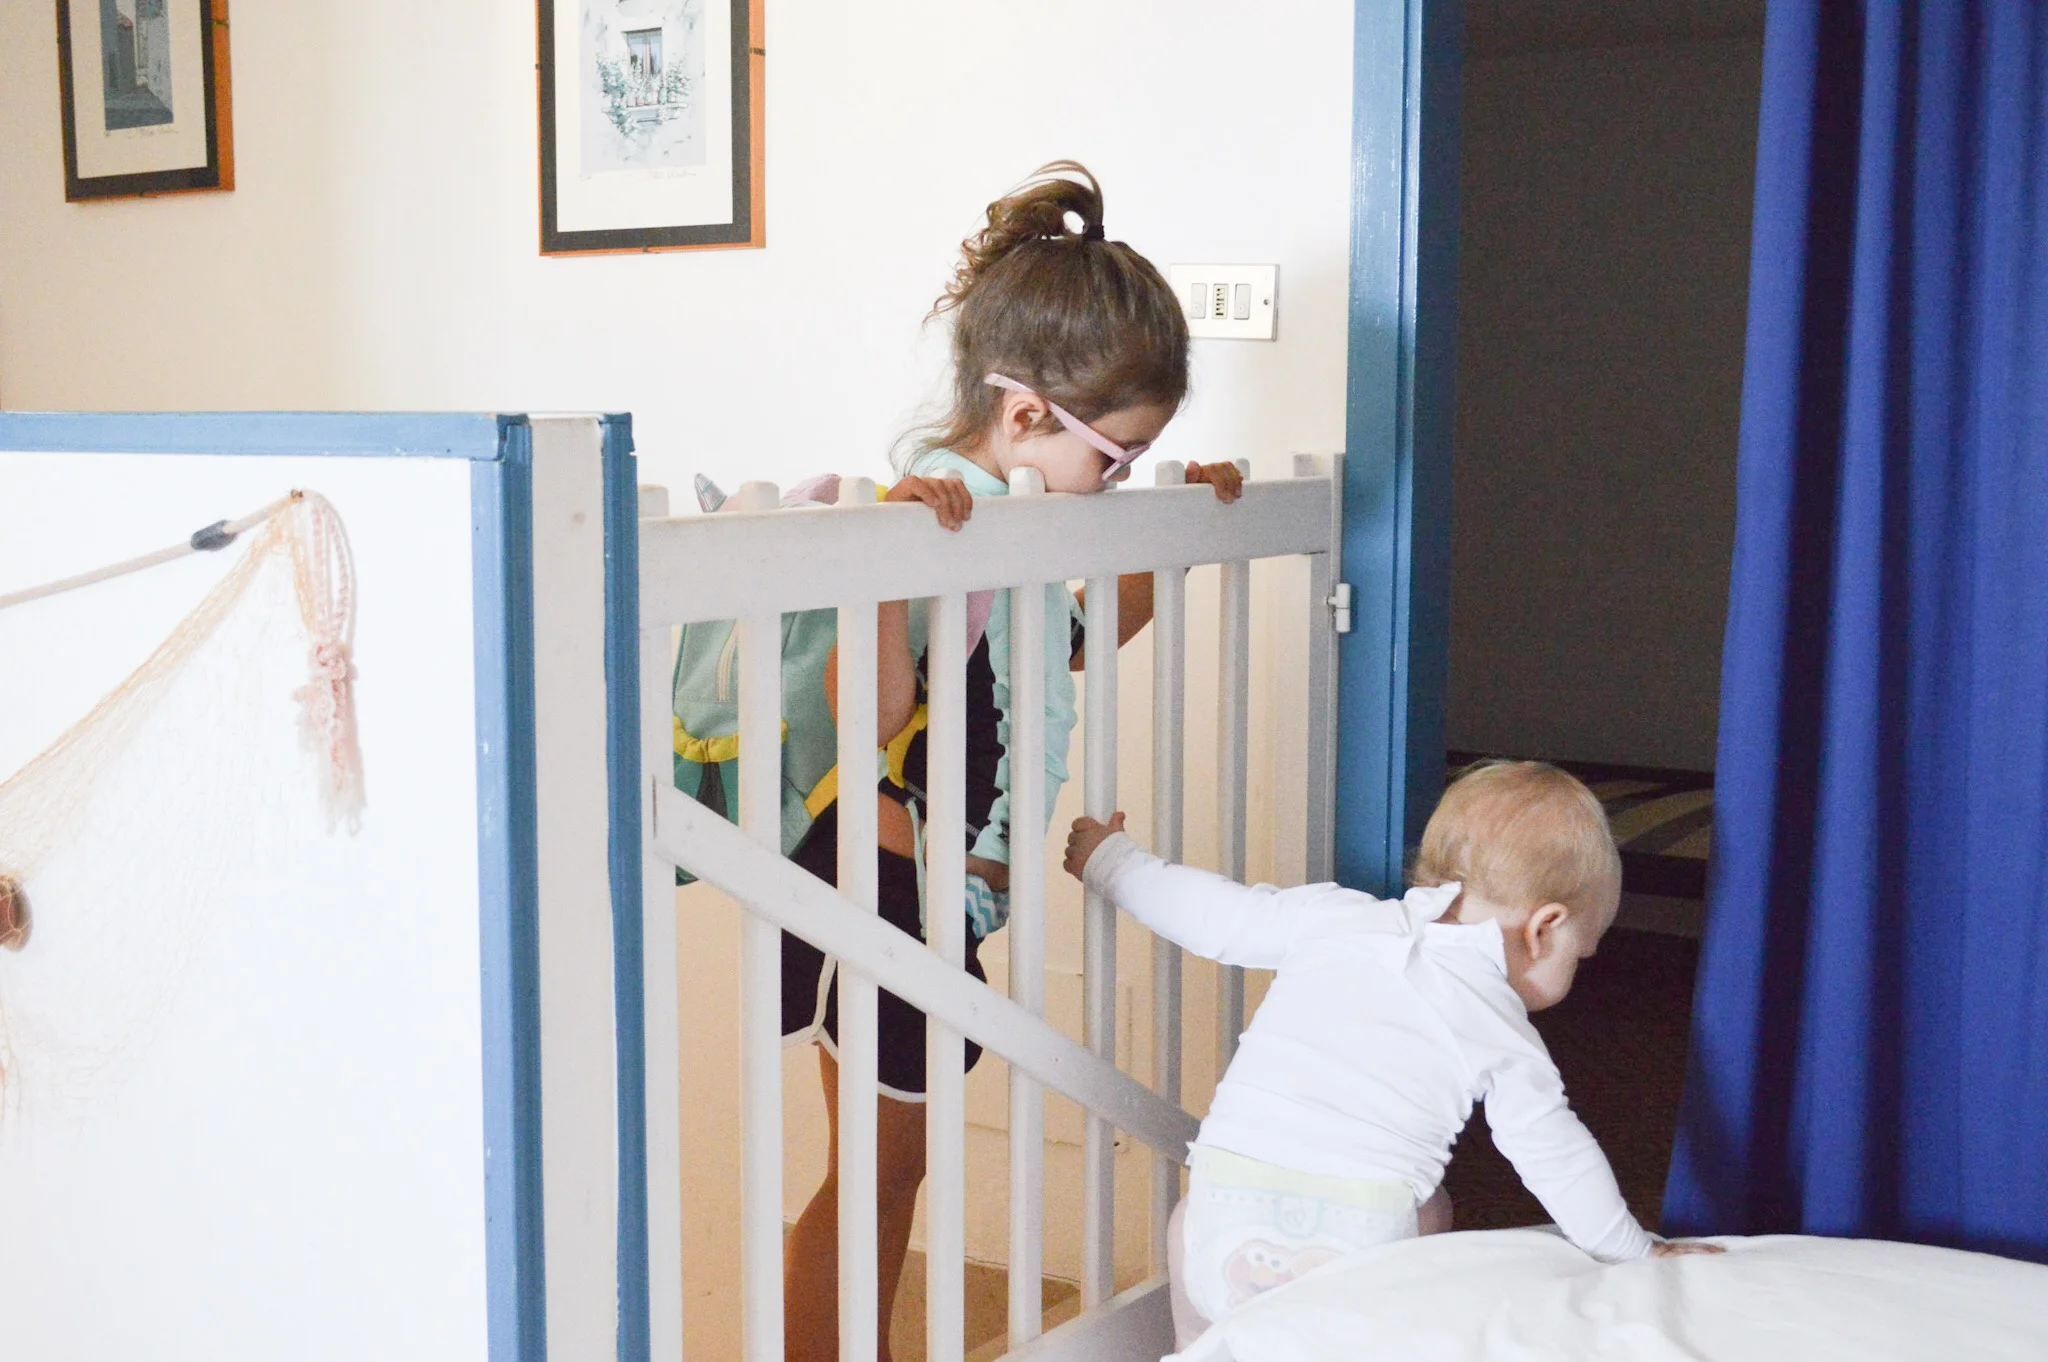
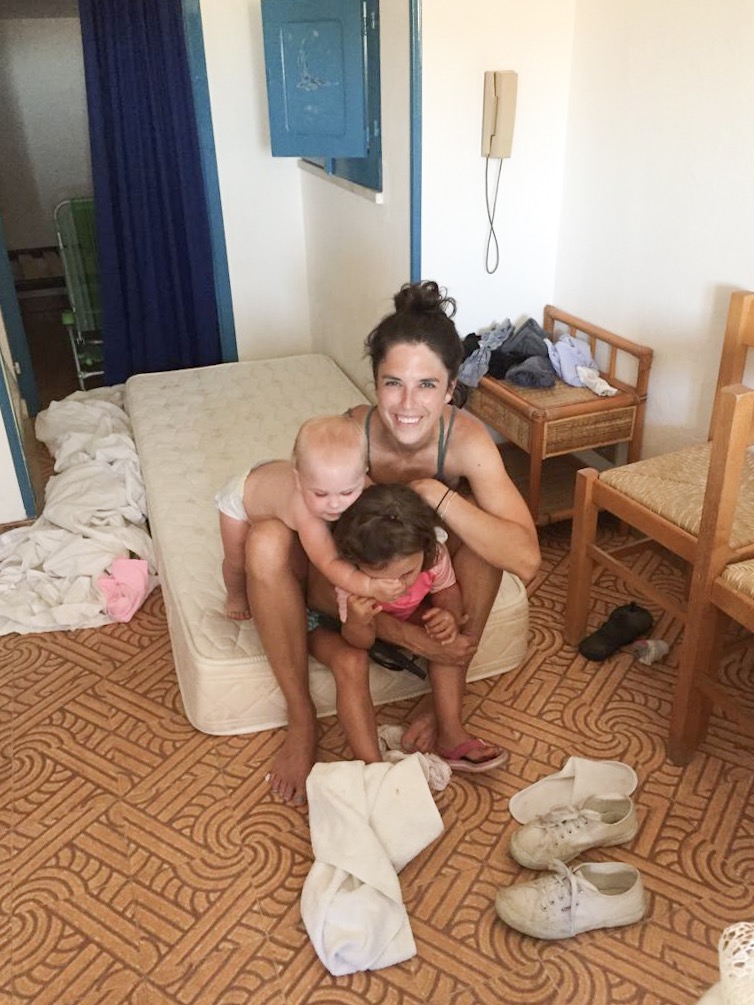
We loved the location of our place but it was pretty hot. There was only one tiny air conditioning unit located in the kitchen so we put Luna’s bed in there. I don’t think she minded too much ;)


Despite the heat, the sunset view was UNBELIEVABLE. I wish there was a way to capture it on camera but it’s just not the same. In person, the sun looked like this huge, neon orange hole set against a watercolor sky. And there were thousands of birds watching too. They were diving and swooping overhead while the sun melted into the ocean. Actually melted! I’m not sure if it always looks that way but I’ve never seen a sunset like it.


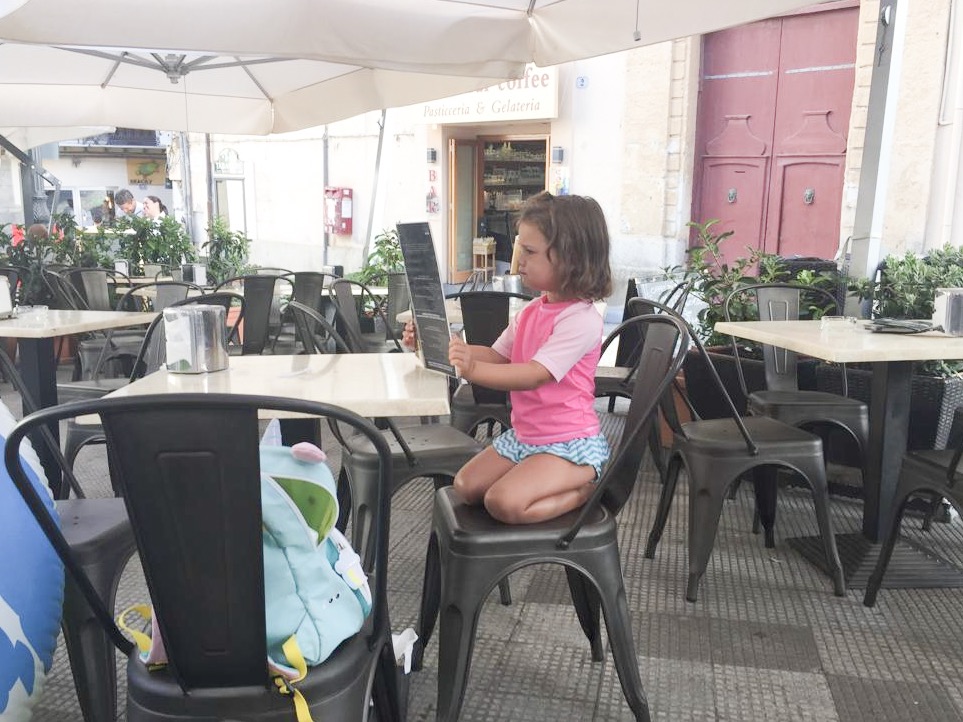
Out in the city, there were a lot of old, pretty places to explore. Like Catedral de Cefalu! Can you see Luna at the top of the steps?? She looks tiny up there!


There were also steps leading down to an old stone bath house tucked away in the city …


… and on the other side of the wall was this wide expanse of stone and ocean. I love the way the sunlight sparkled on the water. It was just really serene on a day that felt a little out of control!


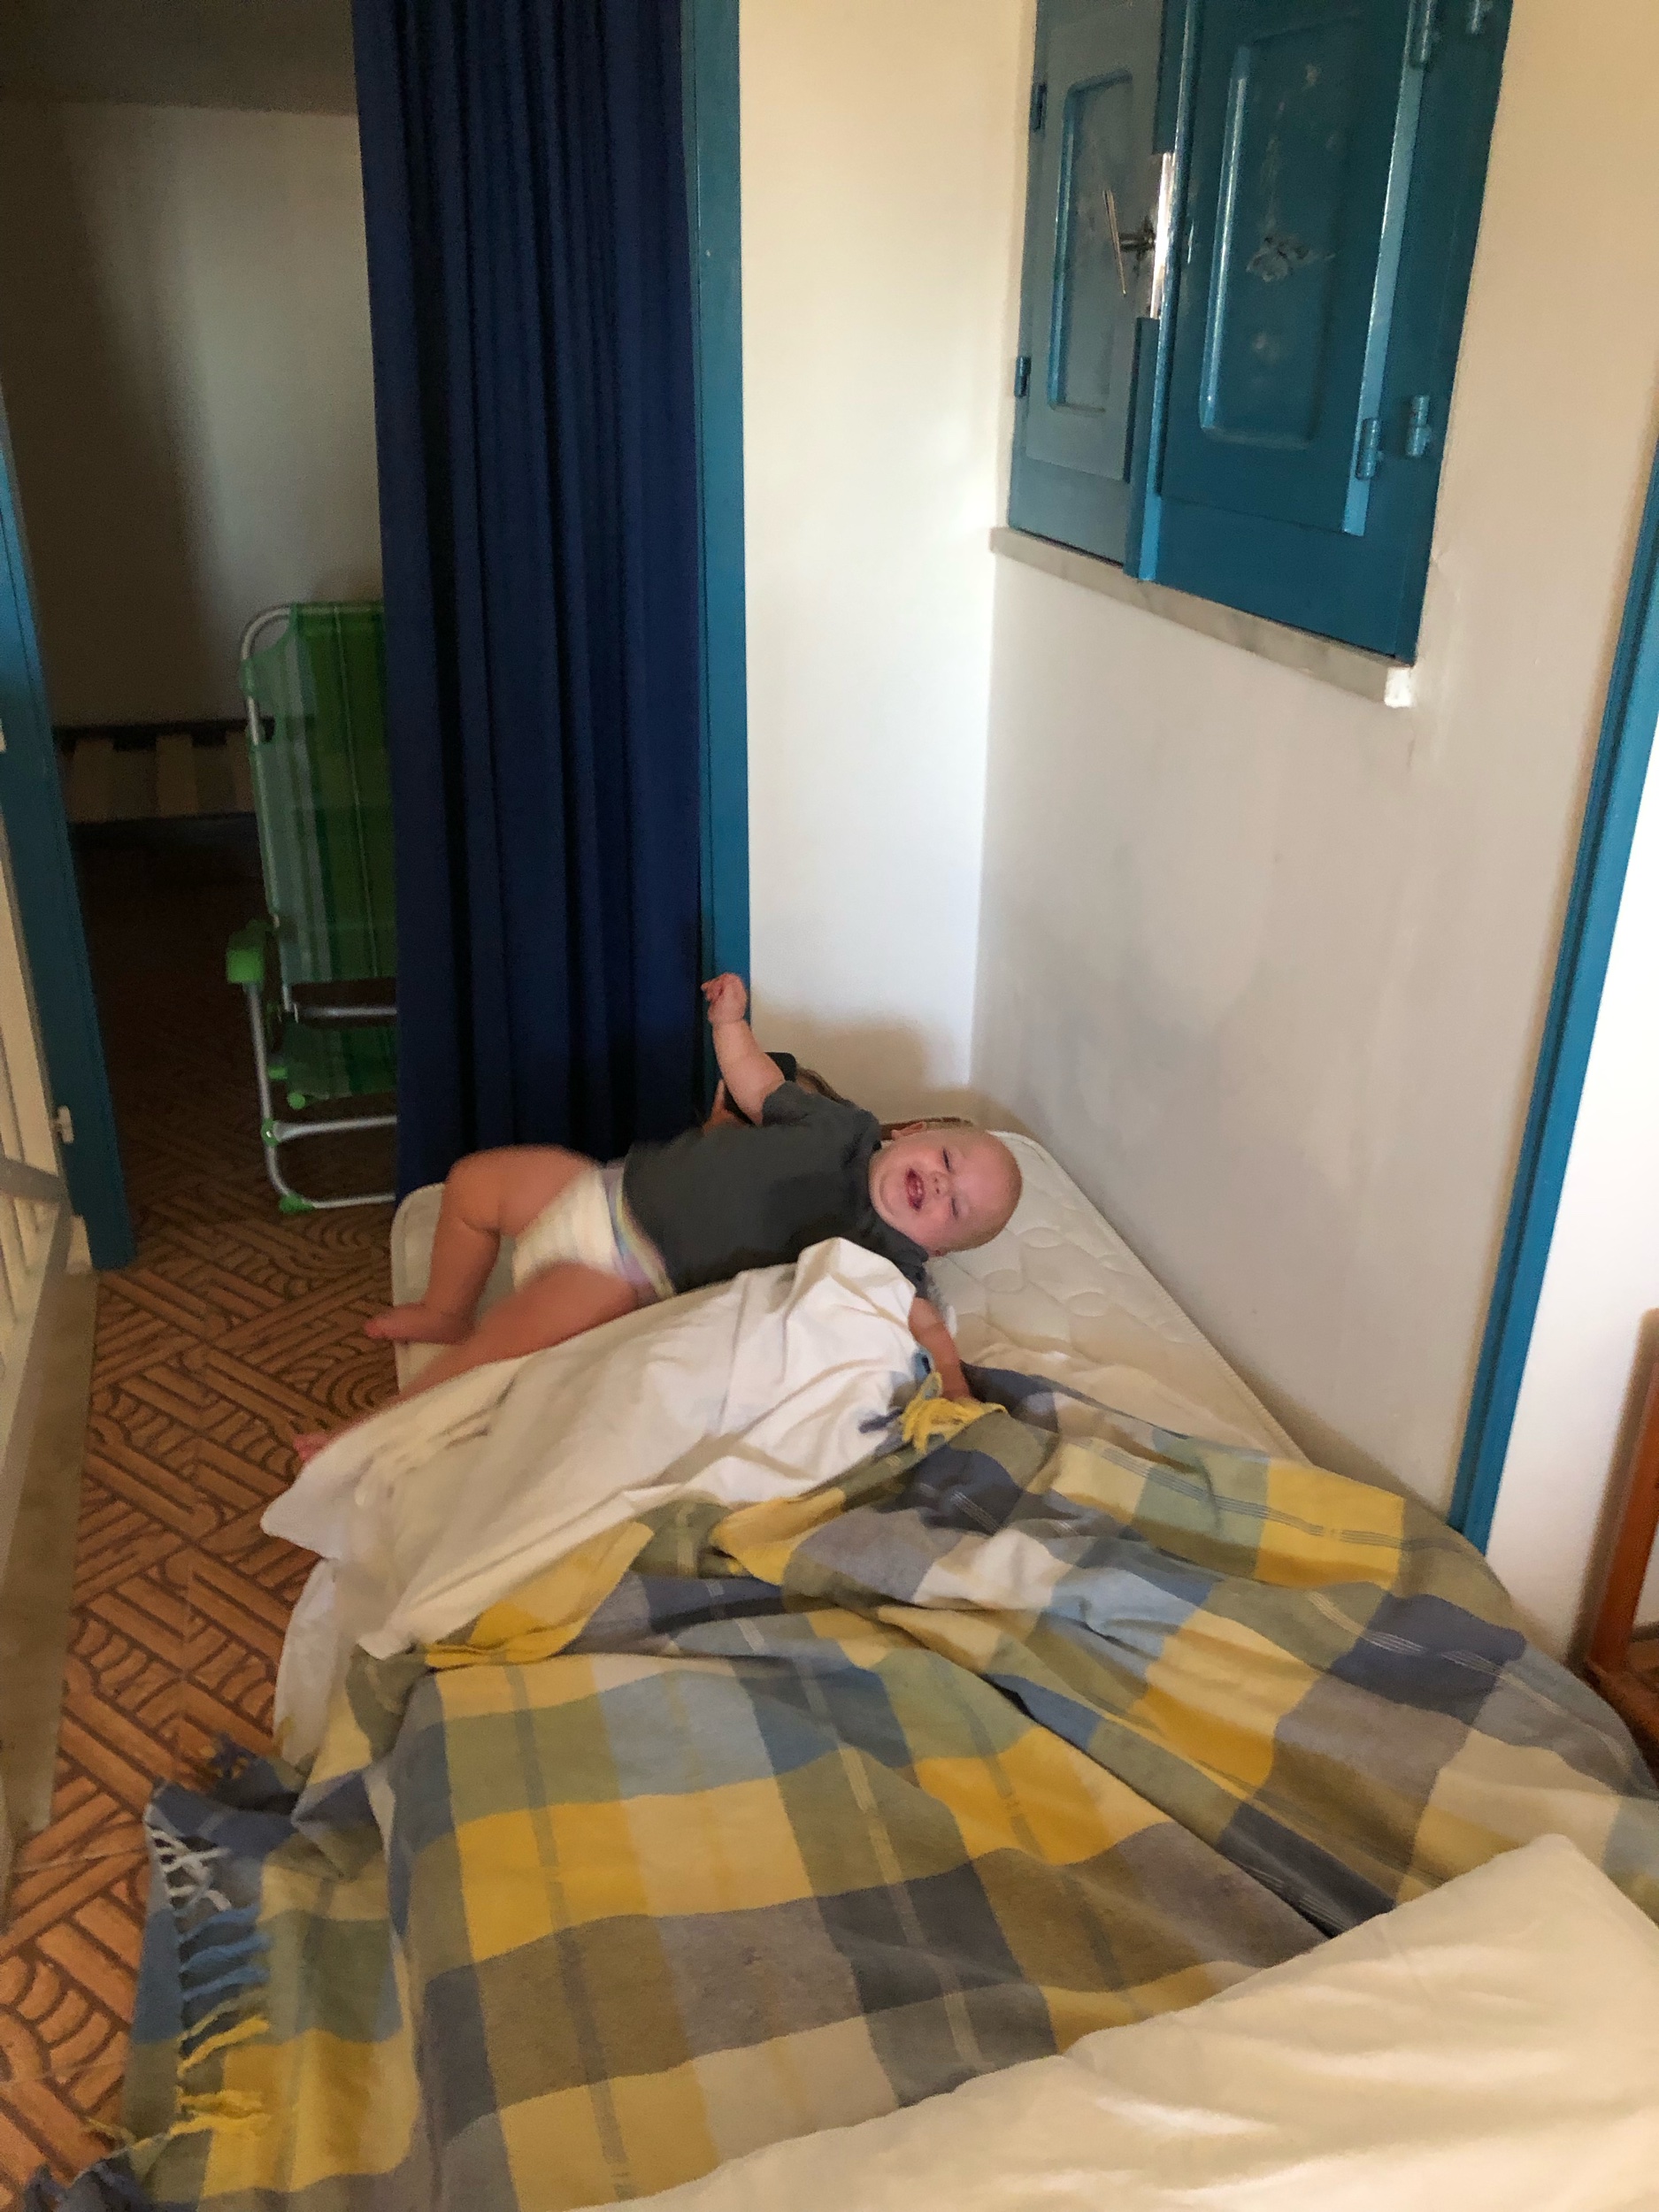
I wish we could have explored a little more but right now, we try to keep things as kid-friendly as possible. Especially because the girls get kind of crabby when we travel (keep scrolling - there are pictures at the end where Kris is comforting a reallllly grumpy Luna).
Still, sometimes the everyday kinda things can be the most fun. See that stone pier behind Lu? I jumped off it! The water was cold and salty and SO clear! You could see right down to the smooth rocks at the bottom. If you follow along on Instagram, you might have seen the video - it’s saved under my Travel highlights if you missed it! It was probably only a six foot drop but my heart was pounding. I felt like a kid again when I finally jumped!


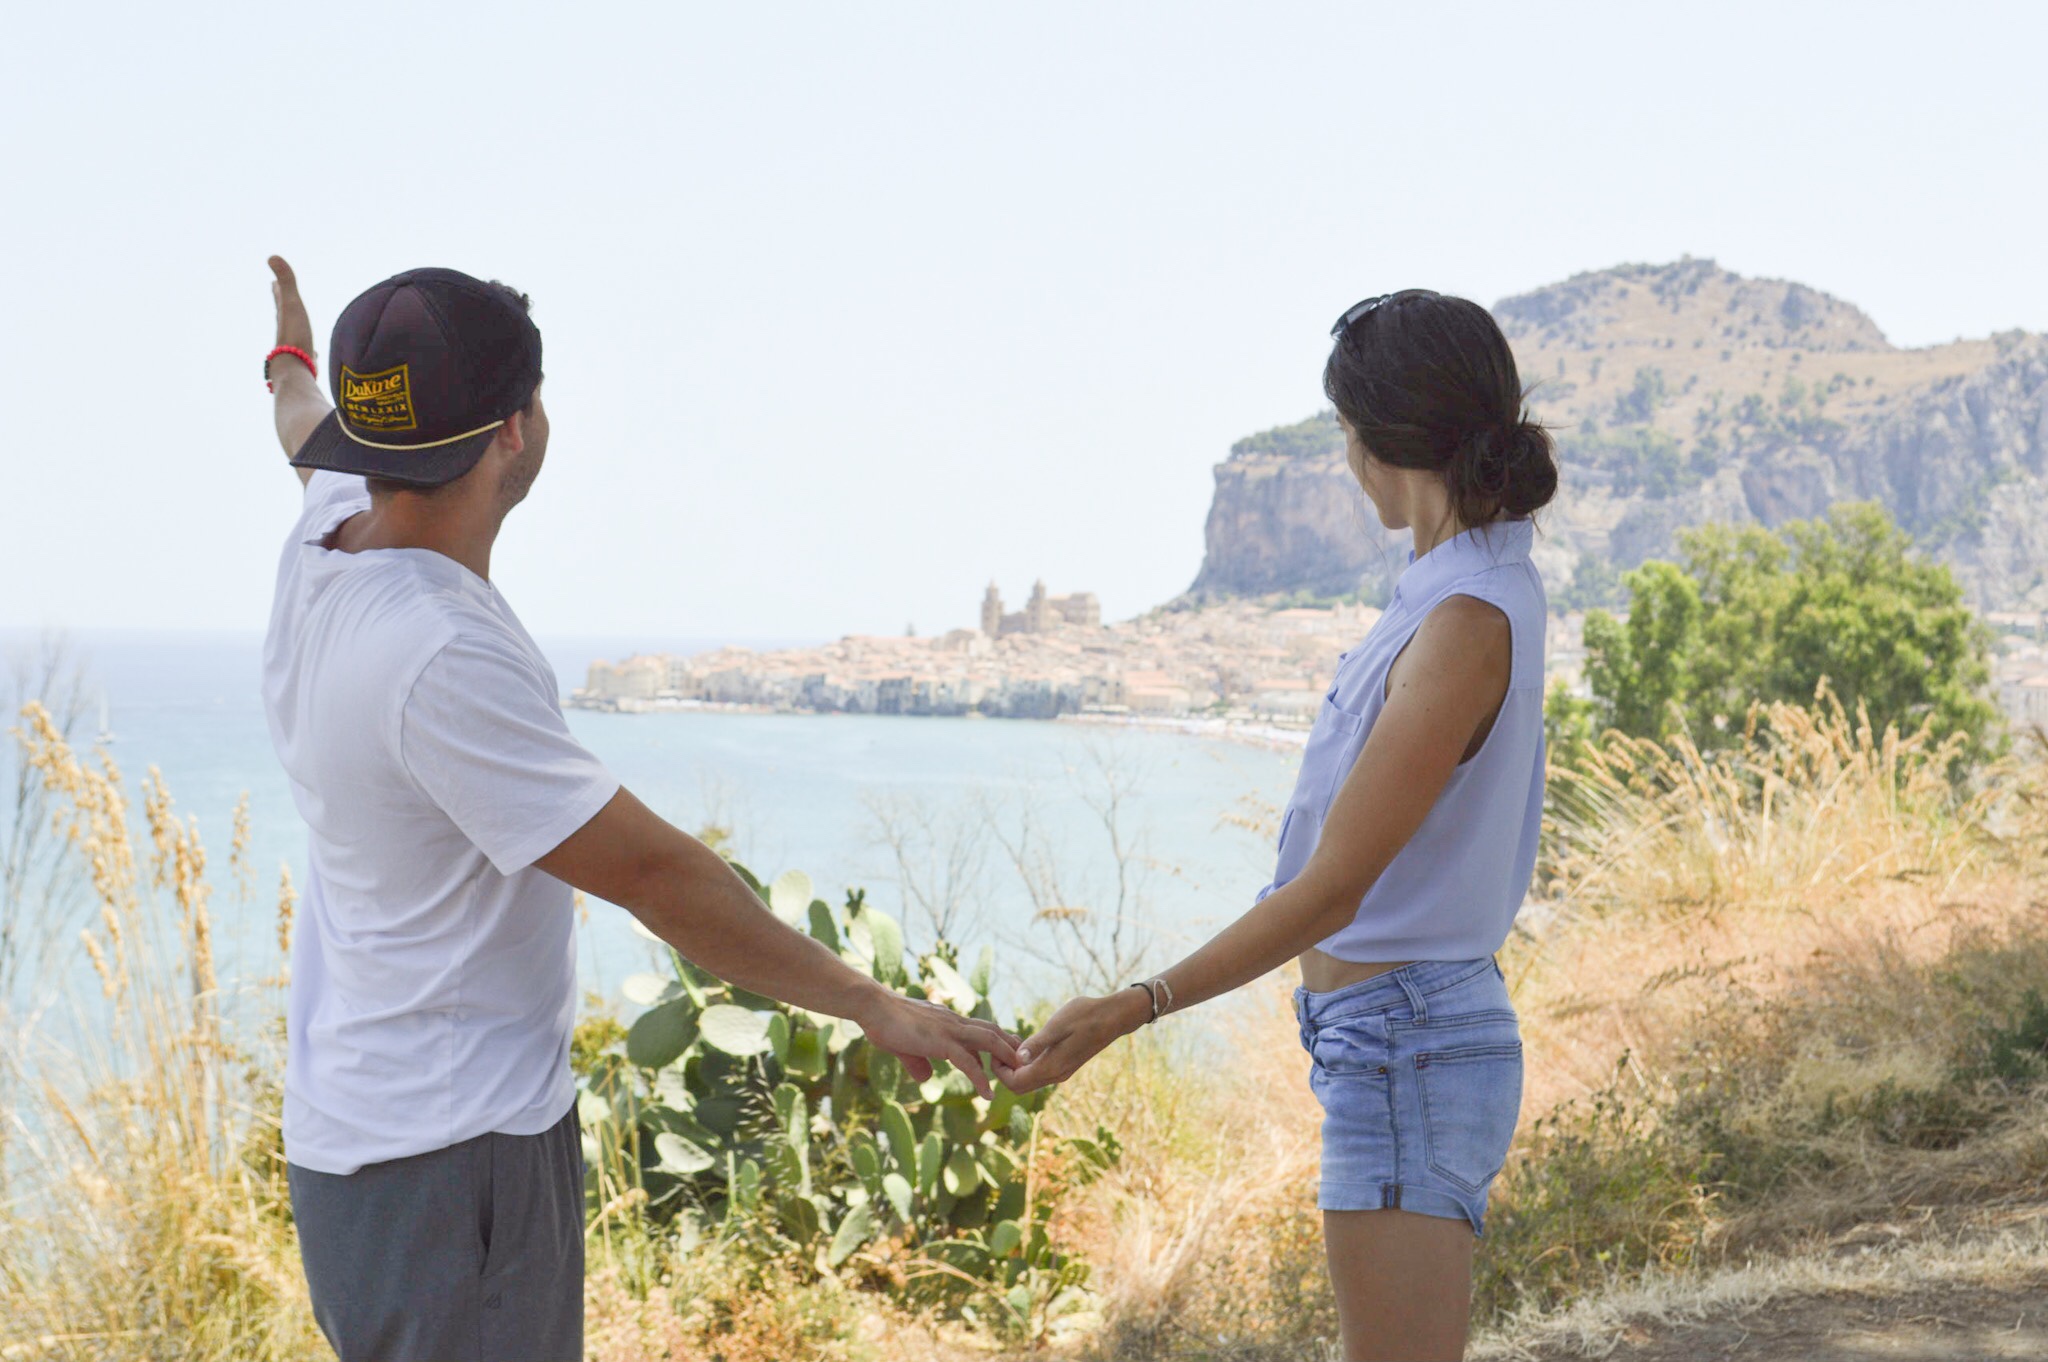
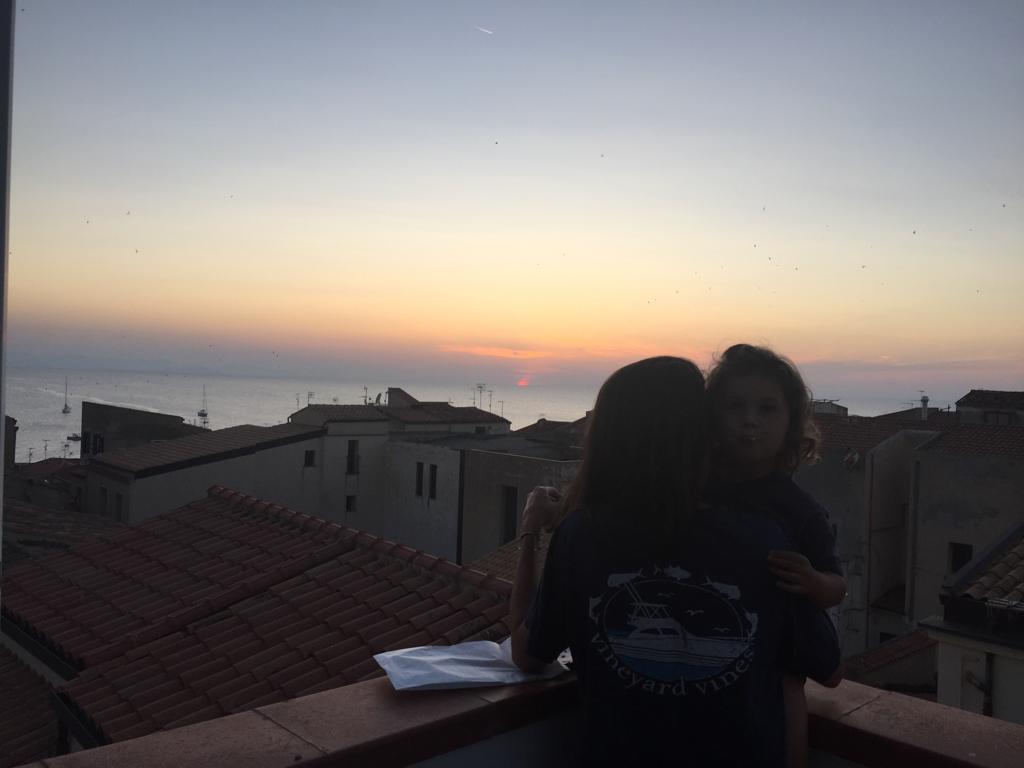
On the way out of town, we stopped at a spot overlooking the city. I wanted to snap a family photo there but the kids were sleeping. So we let them be, hopped out, and took a few photos with just the two of us :) And I’m kind of glad … through all these crazy adventures, there isn’t anyone I’d rather have by my side than KGT <3


With love,
Lace & co.
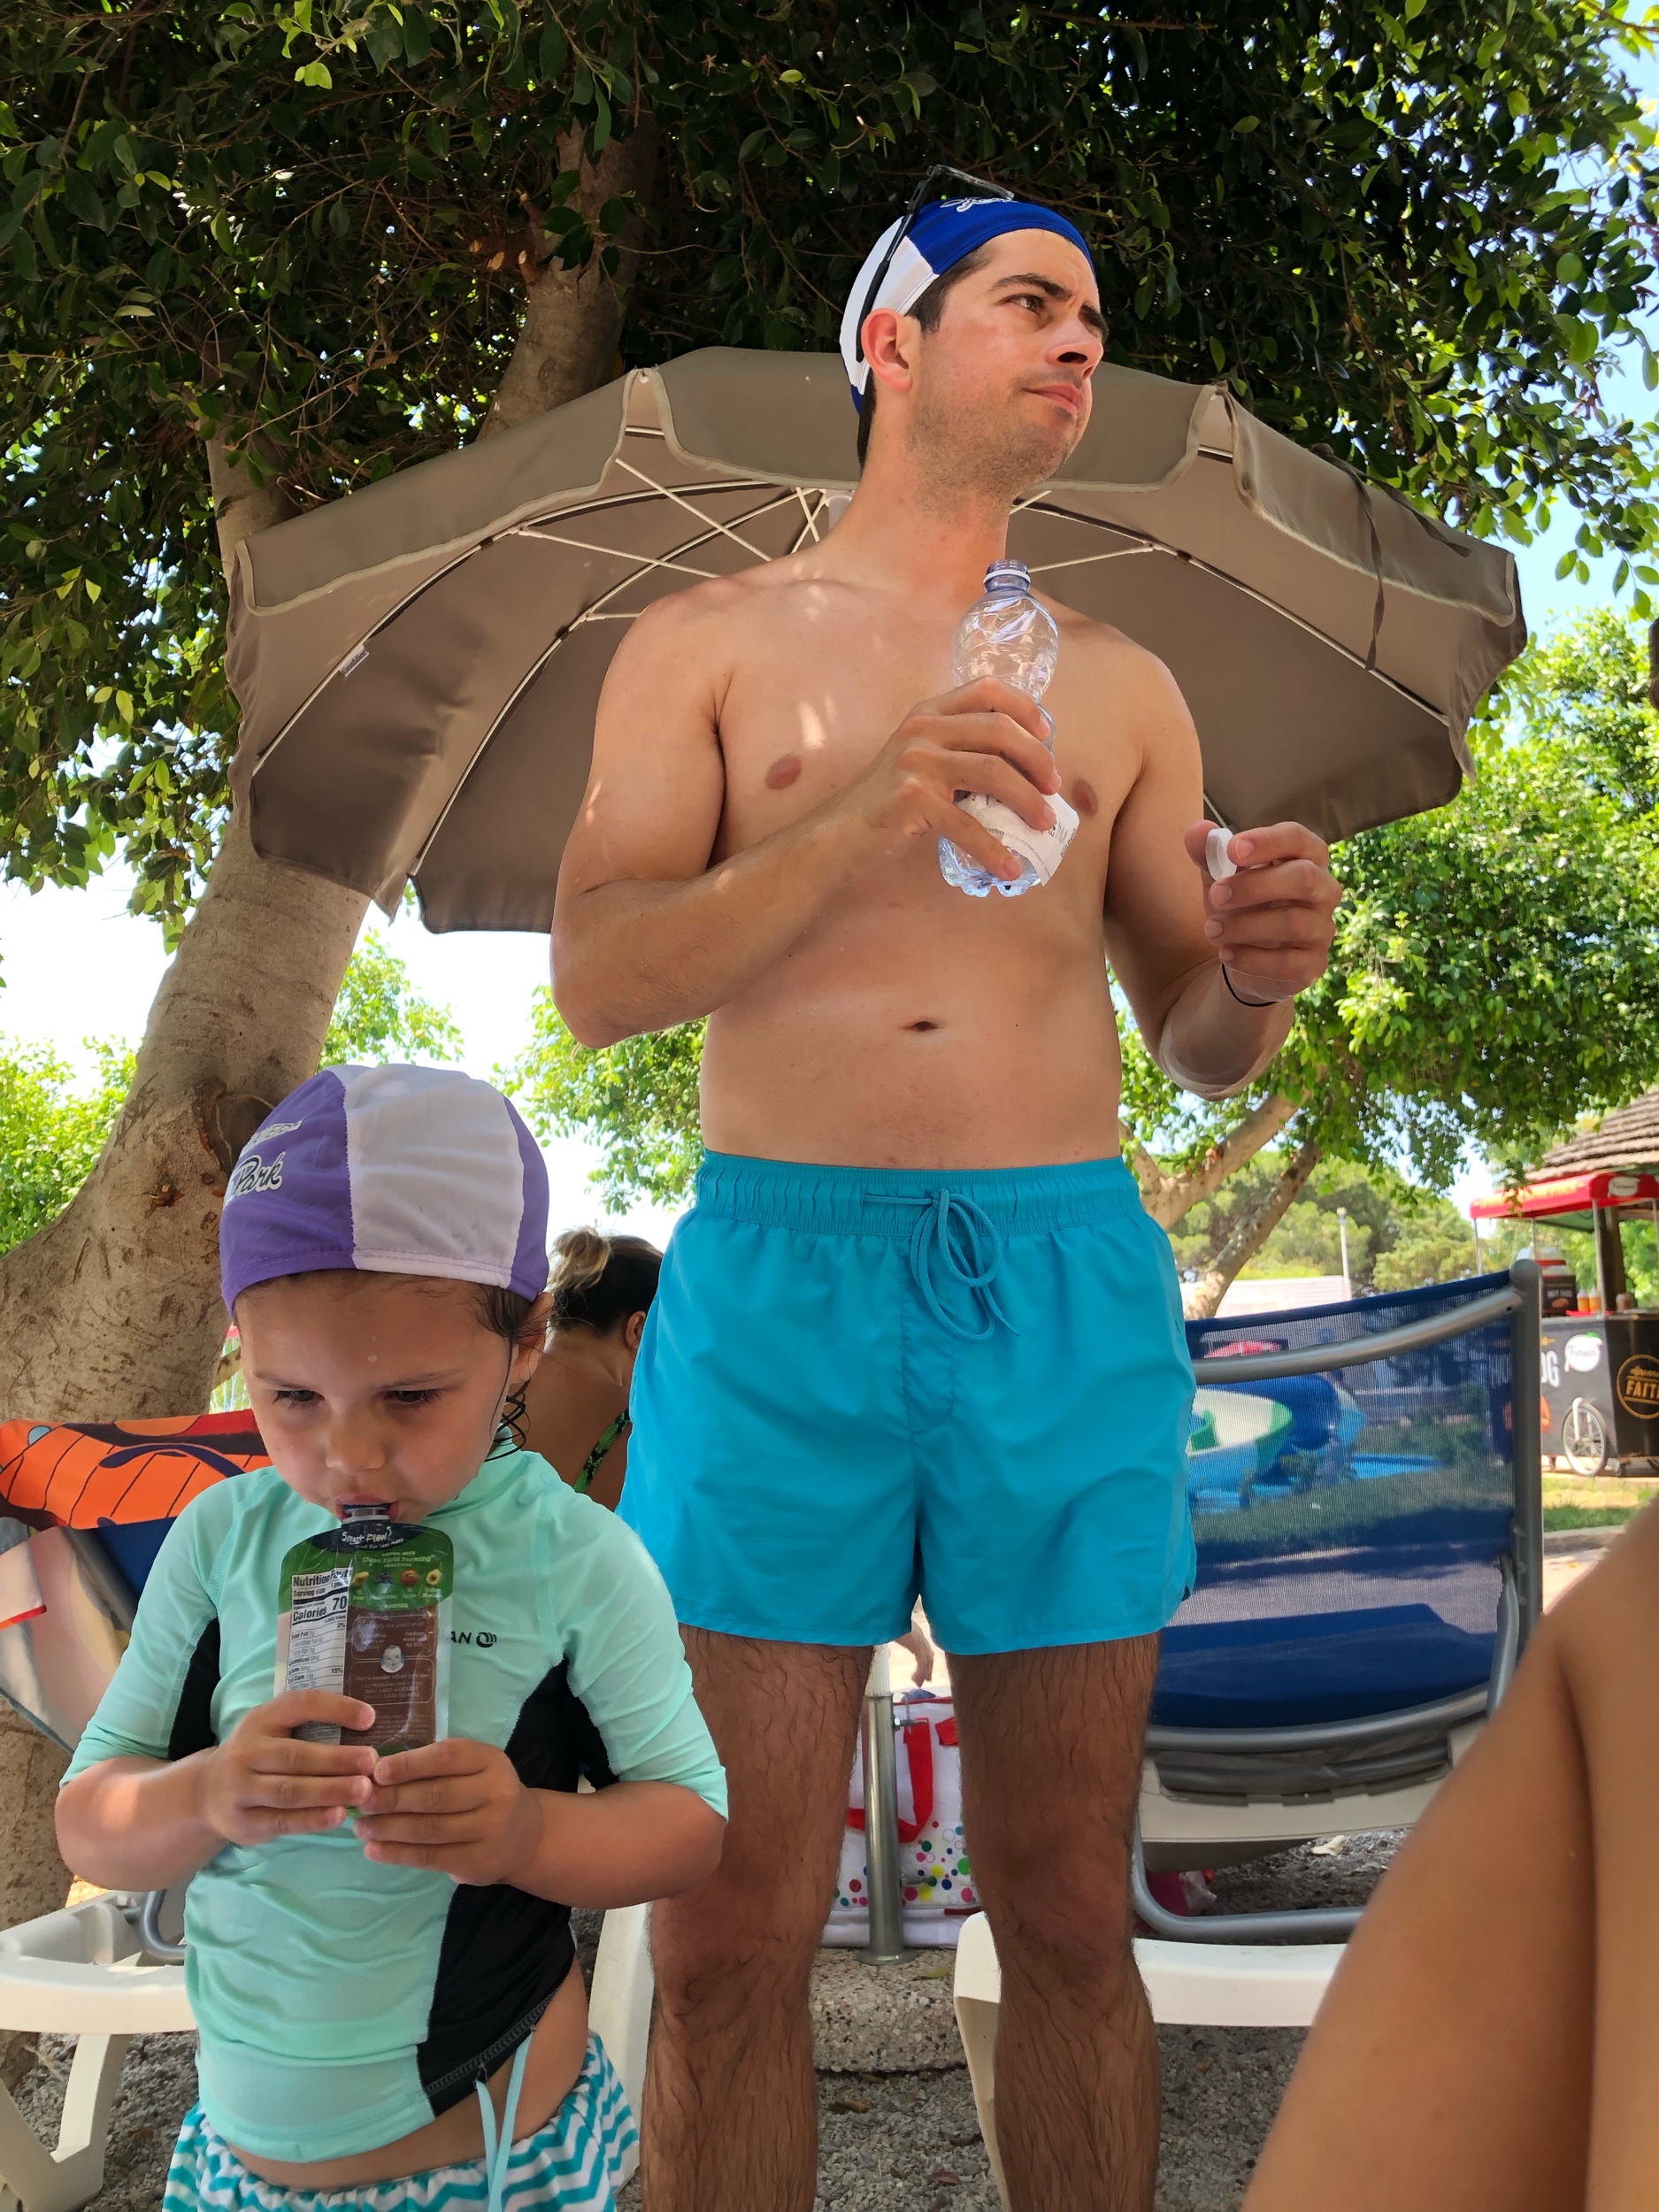
P.S. Here are a few more photos from our trip - including our time at Acqua Verde water park! I know - we could see a water park anywhere. But I’m so glad we went! The girls had a lot of fun and at one point, Luna was standing off to the side while the other kids danced to Italian songs … then Baby Shark came on and all of a sudden she was dancing and splashing and laughing along with everyone else and it didn’t matter that no one else spoke English because EVERYONE SPEAKS BABY SHARK DO-DO-DO-DO! It made my chest hurt (in a good way). I was just really happy to see her so happy!


You guys!
We have a three-year-old and an *almost* one-year-old! Don’t even get me started - I’m a complete mess over here. I just love our little family so much! And I know these are some of the best years we’ll ever have together … even with all the tears and tantrums, ha!

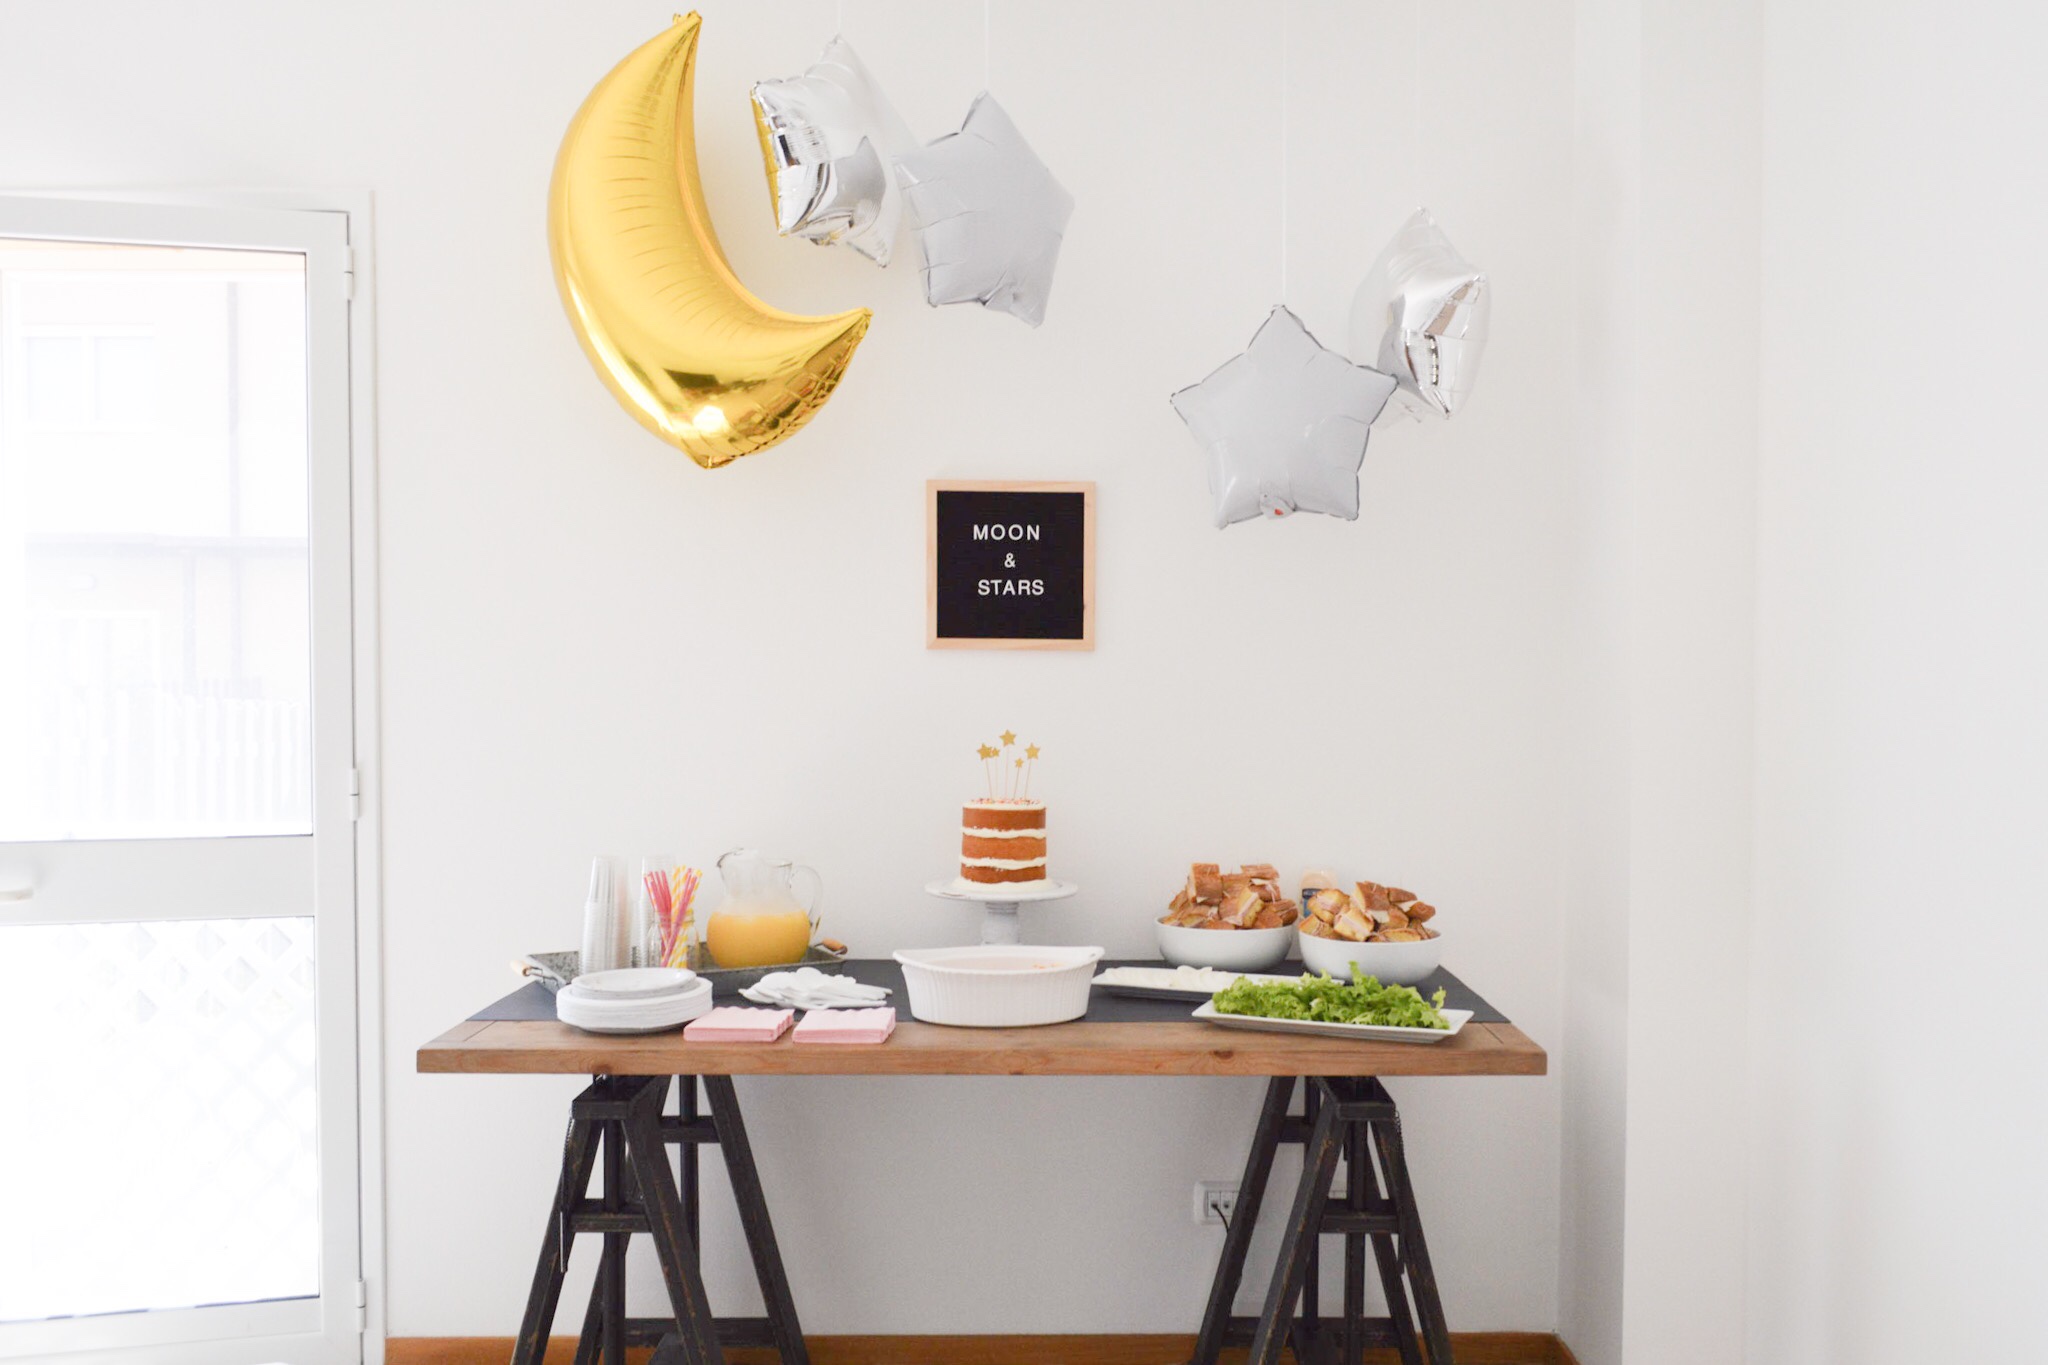
Even though the girls were born in different months (May + June), I wanted to host a joint birthday party. I just thought it would be more fun! Plus it’s cheaper and easier. I’m not sure if we’ll do their parties together in the future but this year it felt right.

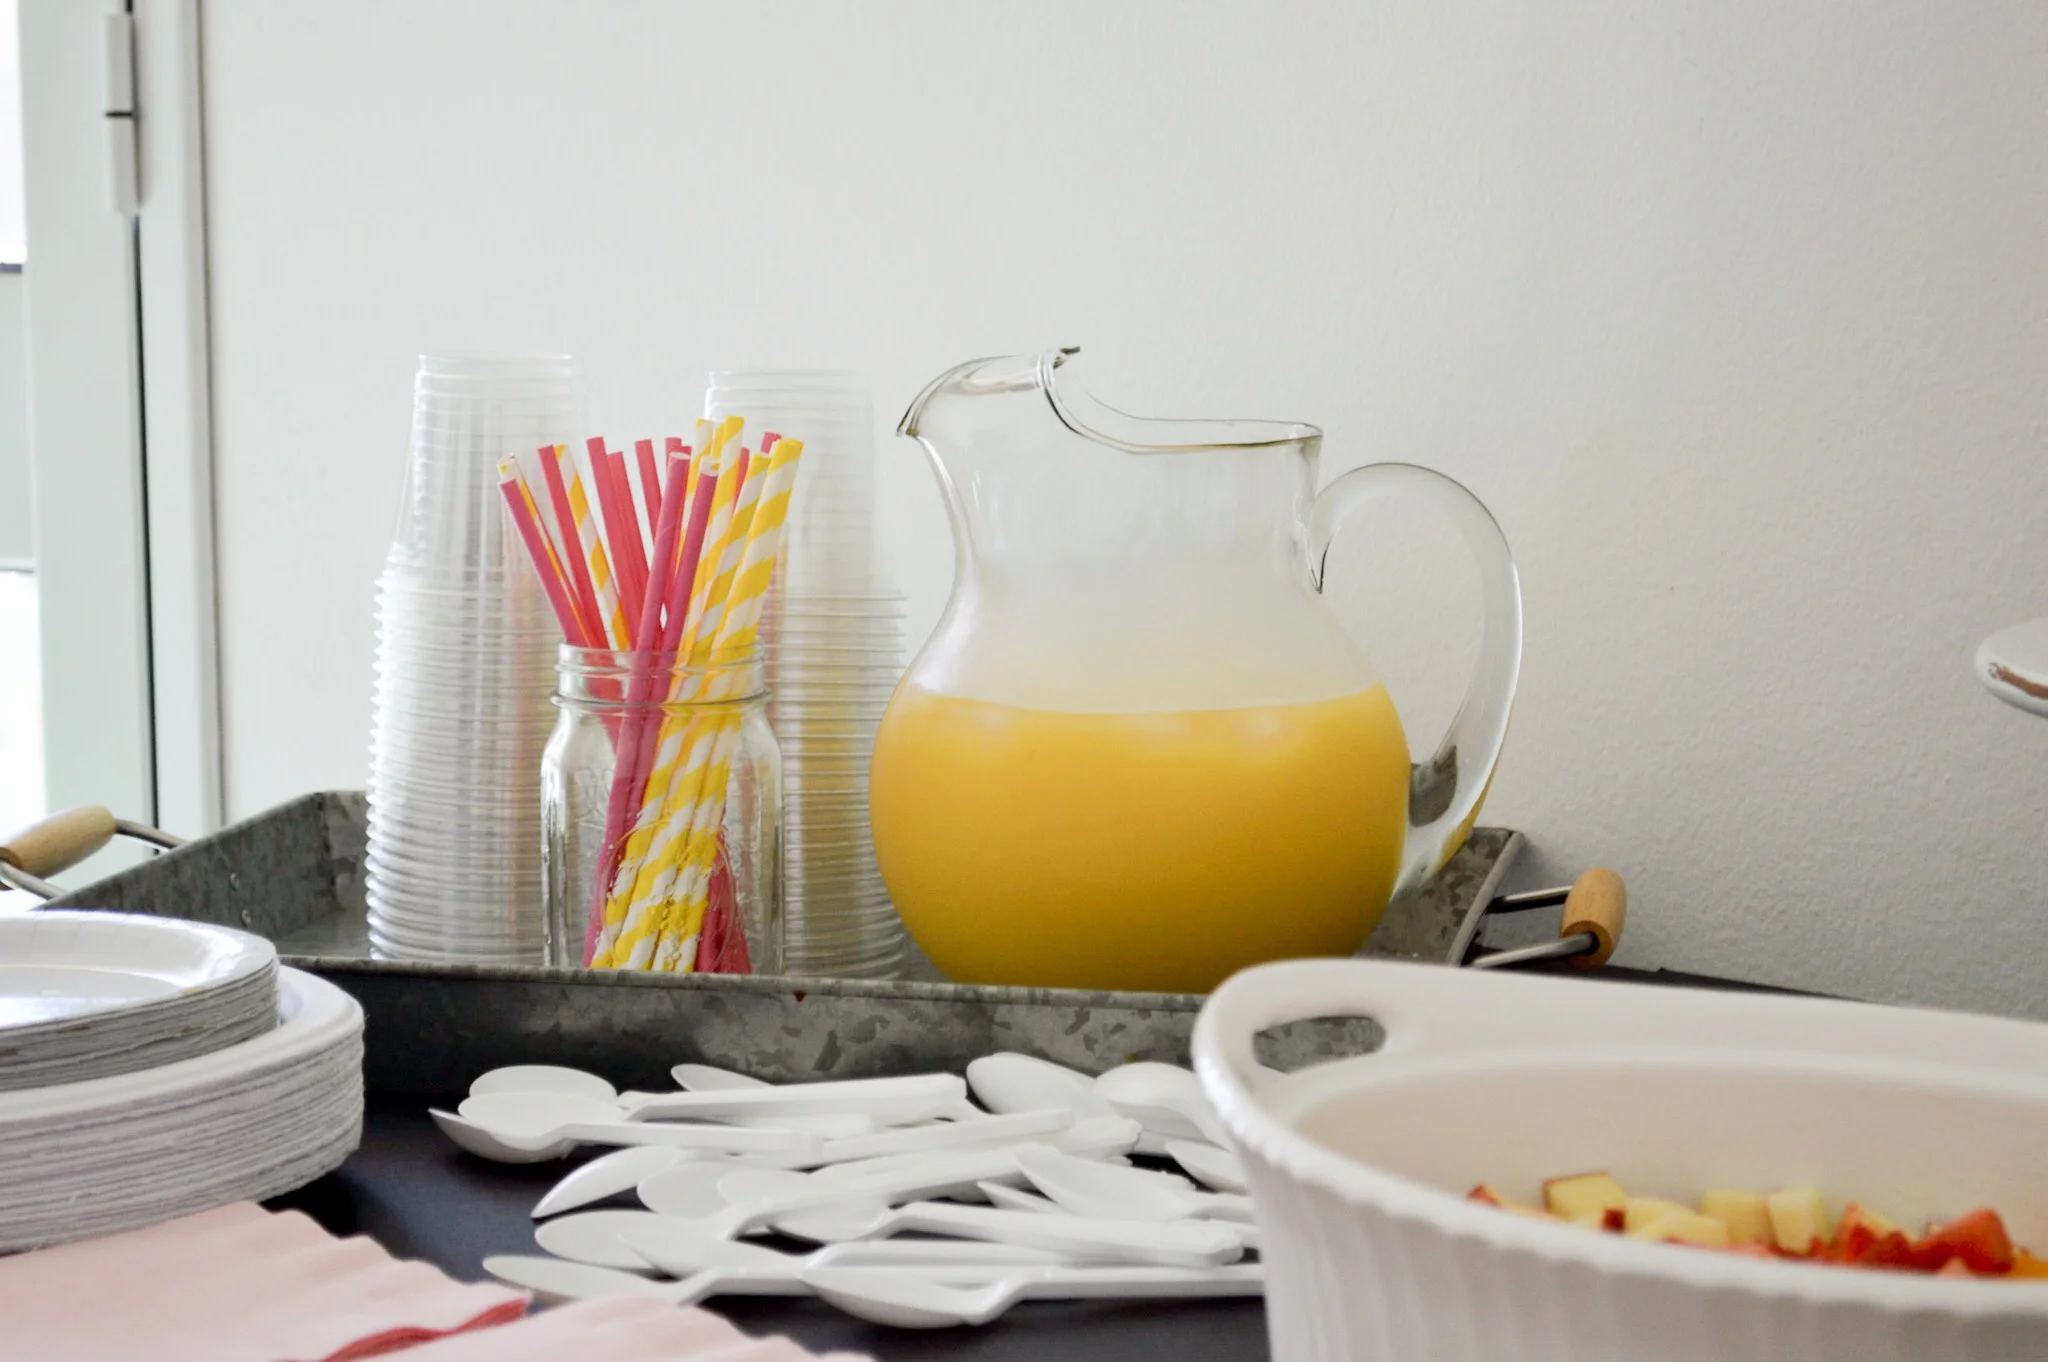
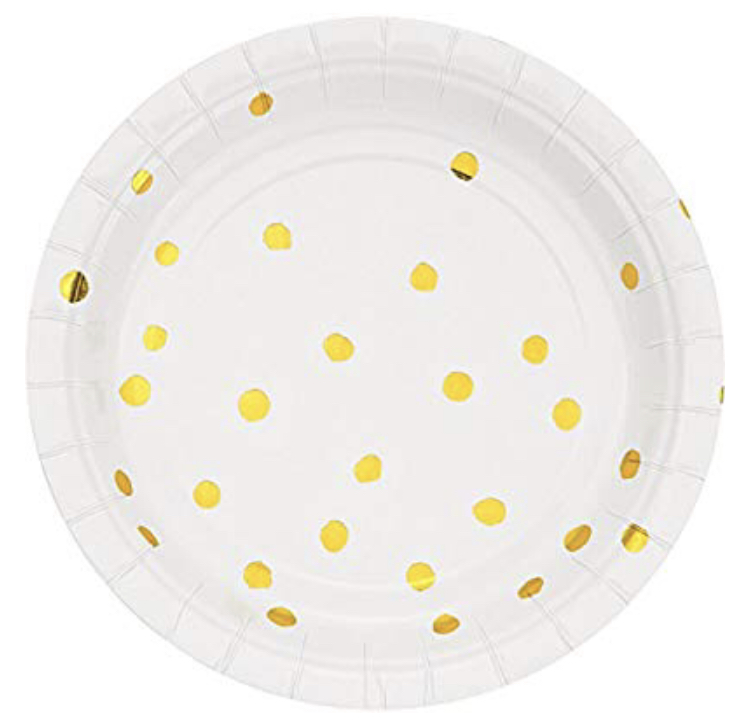
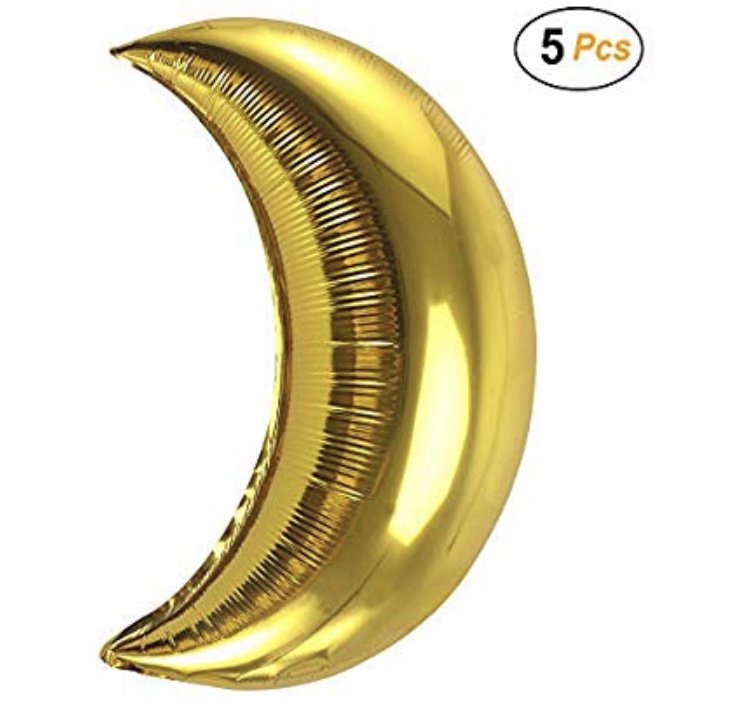
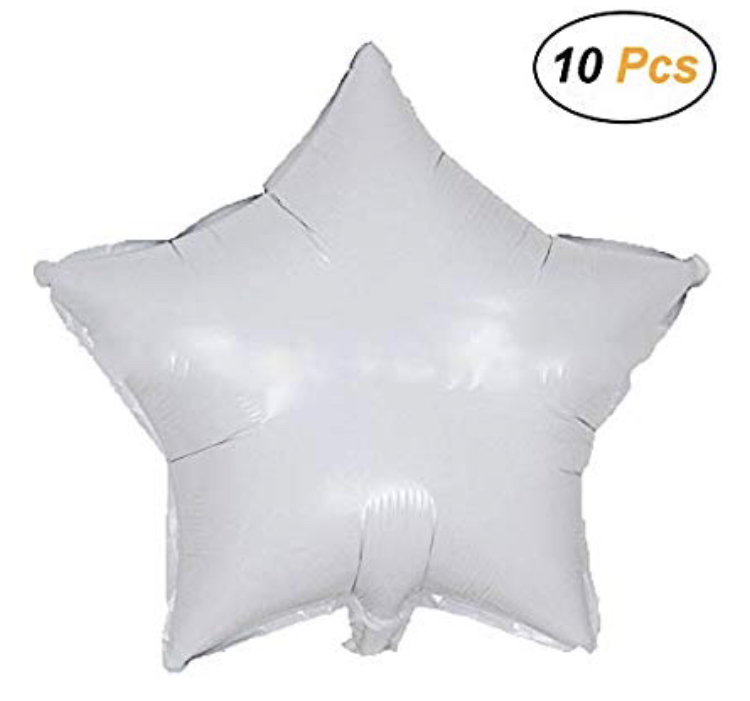
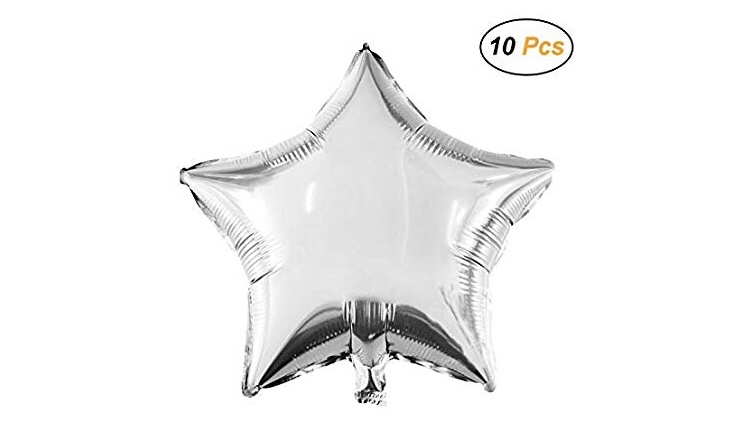
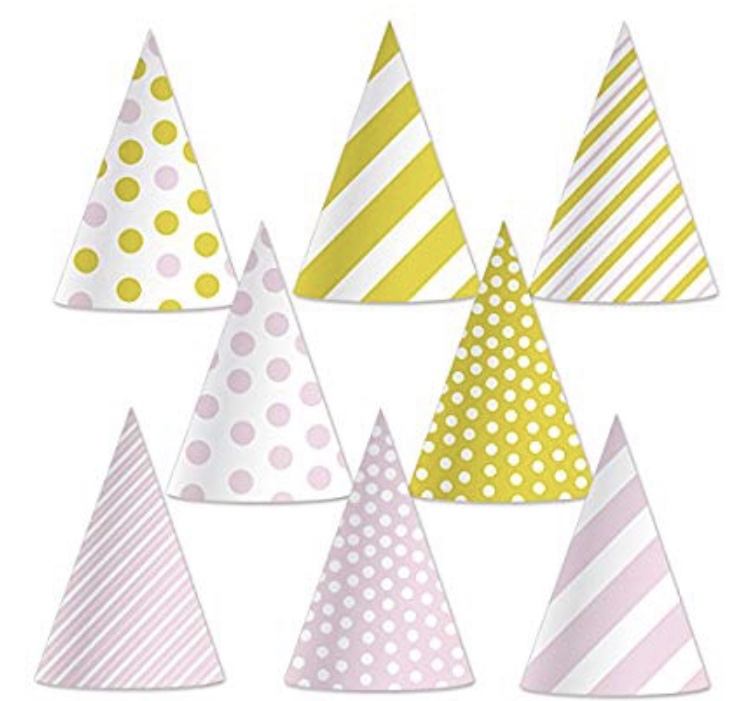
The thing I loved about this party was how simple it was. I purchased most of the supplies off Amazon: moon + stars balloons, white plates with gold polka dots, pink napkins and fun party hats. The straws were leftover from last year’s Rain or Shine birthday party and we grabbed cups + spoons at the grocery store.
I hung balloons from the ceiling + tossed the extras on the floor for the kids to play with. Then I lined the table with black poster paper (you could also use black Kraft paper). It was all really easy!
I planned to print 4x4 pictures and tape them to the wall on the right but I never actually got around to it - and I’m still a little disappointed over it. It would have added a really personal touch + Lu would have loved it. Maybe next year!
For the menu, my first thought was pancakes or pizza. Doesn’t a pancake party sound like fun?! Until you think about the syrup part and then … not so much haha. Ultimately we settled on turkey subs + fruit. Honestly, I do the same thing every year. I’ve said it before but I just really like when parents offer healthy options at birthday parties :)

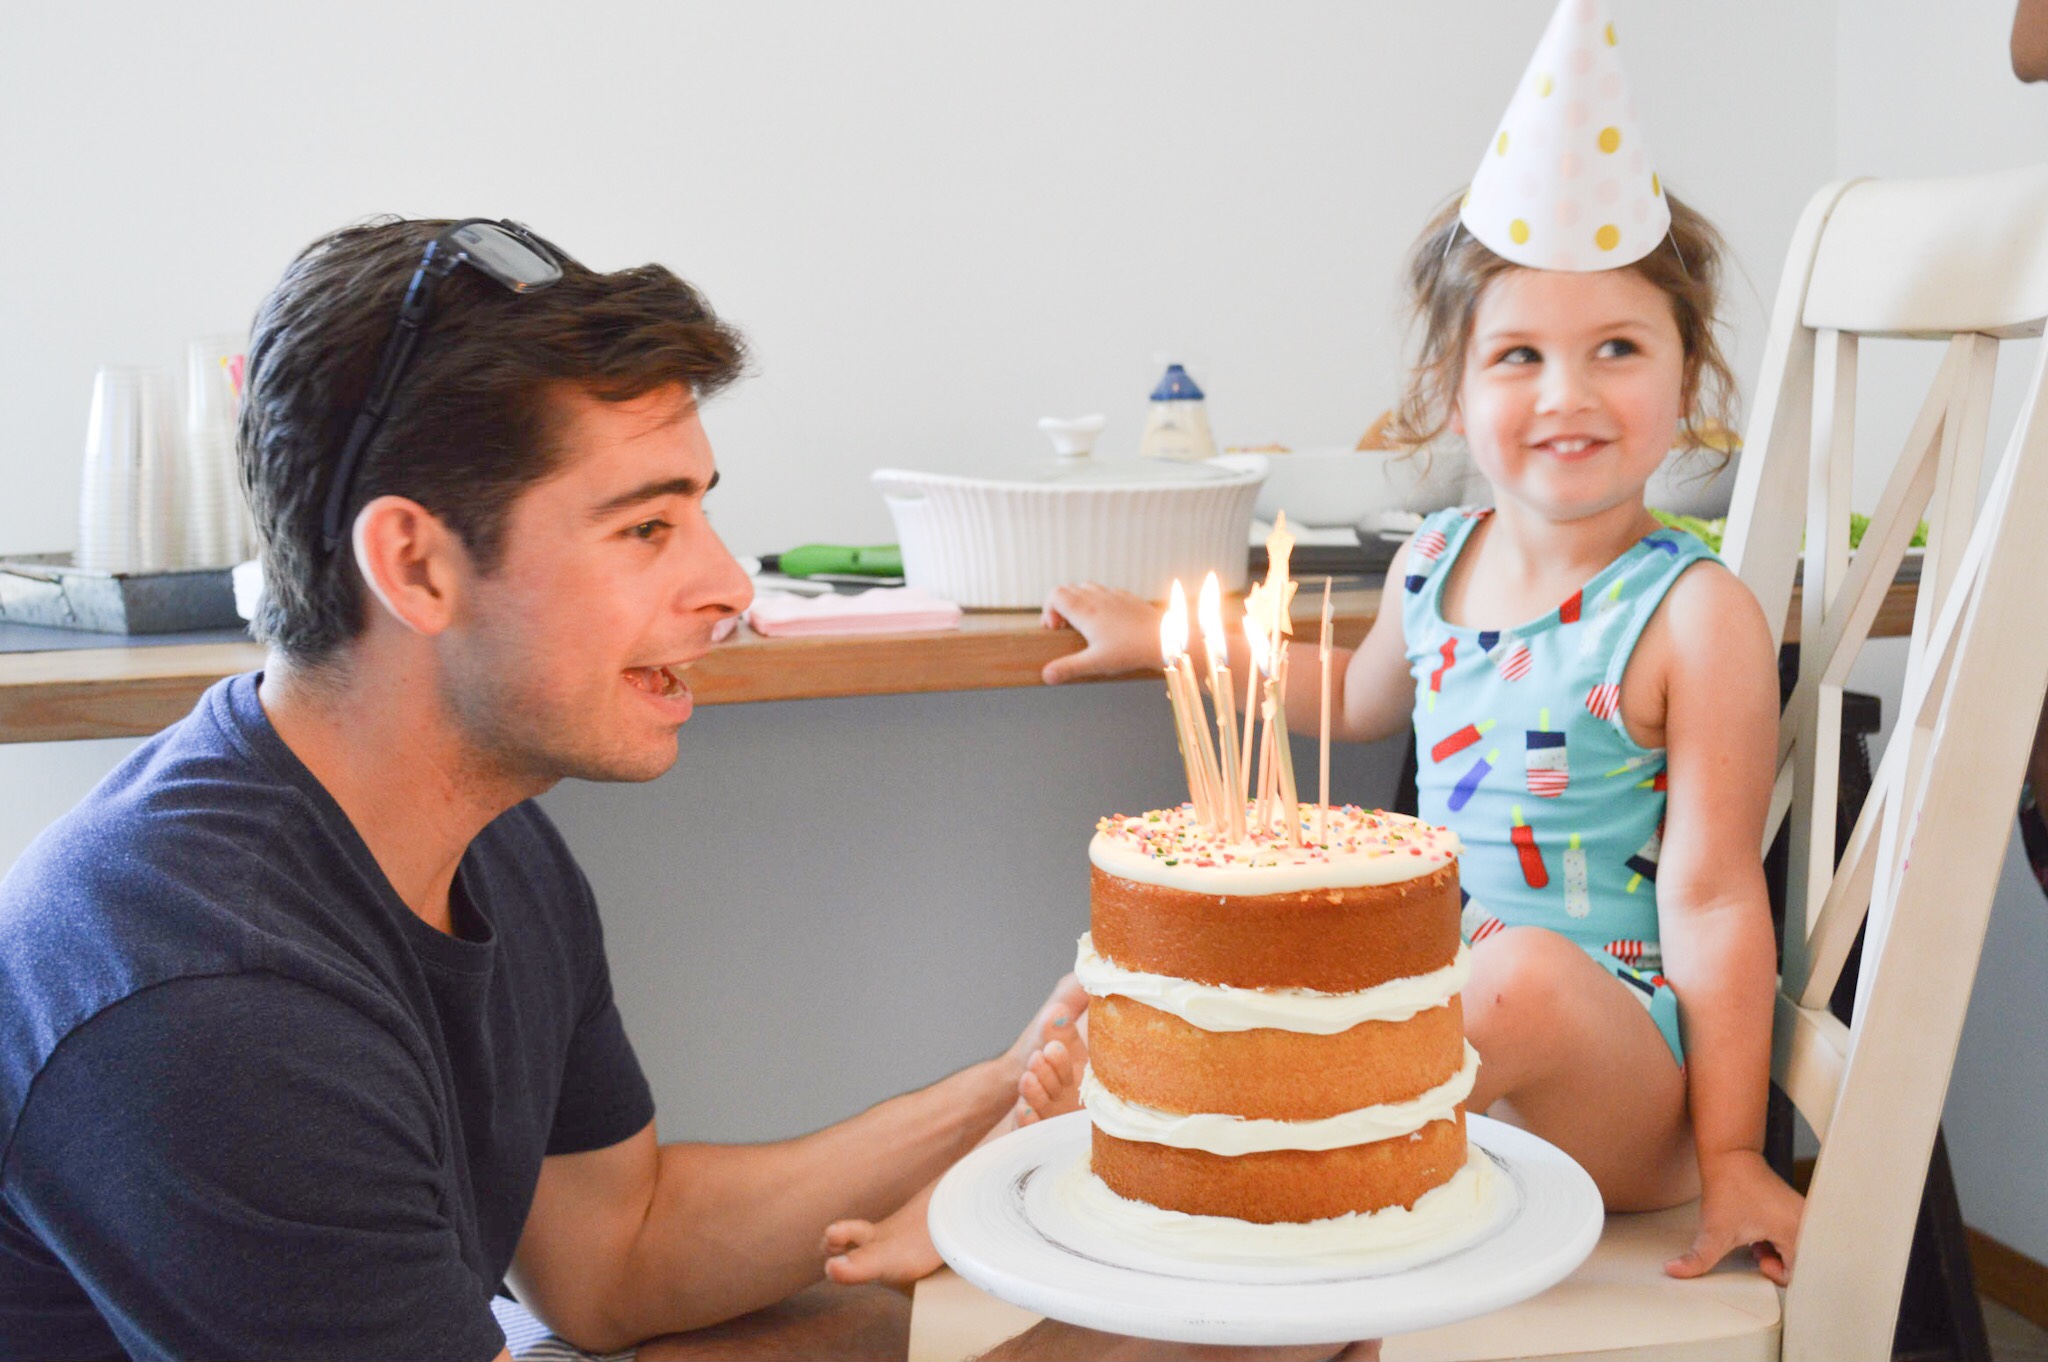
Exxxxcept for the cake :)
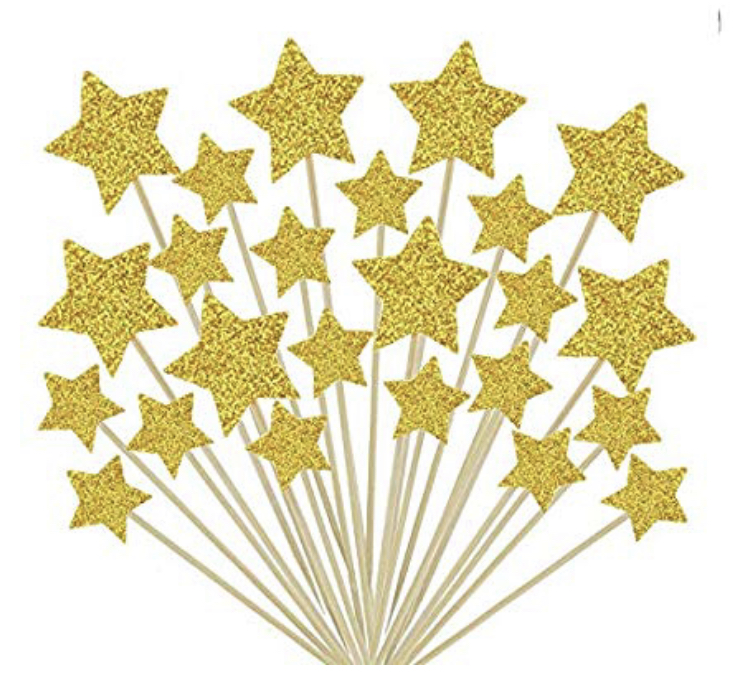
Bare cakes are kind of a birthday tradition at our house at this point. They’re just timeless! And tying in the rainbow sprinkles with the sparkly gold stars felt extra fun + sweet … especially since Lu added the sprinkles herself!


I love planning parties - even super simple ones like this one - but my FAVORITE part of the day had nothing to do with the decorations. It was just the day in general … we’re still new to Italy so I was worried no one would come to the party. But so many people showed up to celebrate! And I could just see how happy it made Lu. I loved watching the girls splash in the inflatable pool and open presents they weren’t expecting to get … and the way Luna’s face lit up when we all sang “happy birthday”. It was just a really fun day! And I think it’s going to be a really fun year, too :)

Happy happy happy birthday to our little babes - we love you to the moon & stars!

With love,
Lace
P.S. I wish I had more photos from the actual party but I didn’t take a single one! The two of Lu blowing out her candles were taken by a sweet friend so I’m just grateful for the ones we do have :)
Shop this Post

Some of the links below are affiliate links so I may receive a small commission - at no cost to you - if you make a purchase through a link. Please see my Affiliate Disclosure for more information!
