

Hey mommas,
Luna is officially TWO!! I still can't believe it. It's SO true what they say ... the days pass slow but the years go by sooooo fast. And the toddler years are this crazy mix of wondrous and terrible. One second Luna is wrapping her legs around me and giggling madly and the next she's having a meltdown over a fallen block tower. Which is exactly why I wanted to throw a Rain or Shine themed party this year - it sums up life with a toddler so well!
When planning Lu's birthday party, I had a simple color palette in mind: sunny yellow, sky blue, and a fluffy shade of white. Then I tied in dark blue and a pretty shade of pink for accent colors.
Once I figured out the color scheme, I started working on the invitations. They were actually really fun to make! I used a free app called Adobe Spark and it was incredibly user-friendly. It only took me an hour or two to create a design that I really loved:

Next came the decorations:
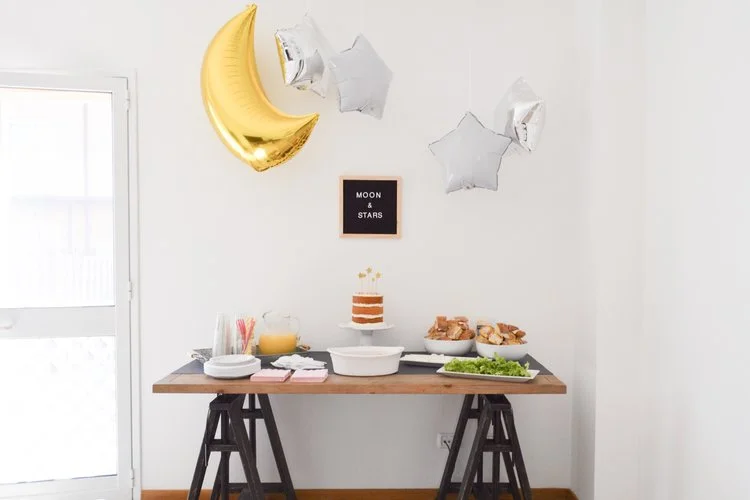
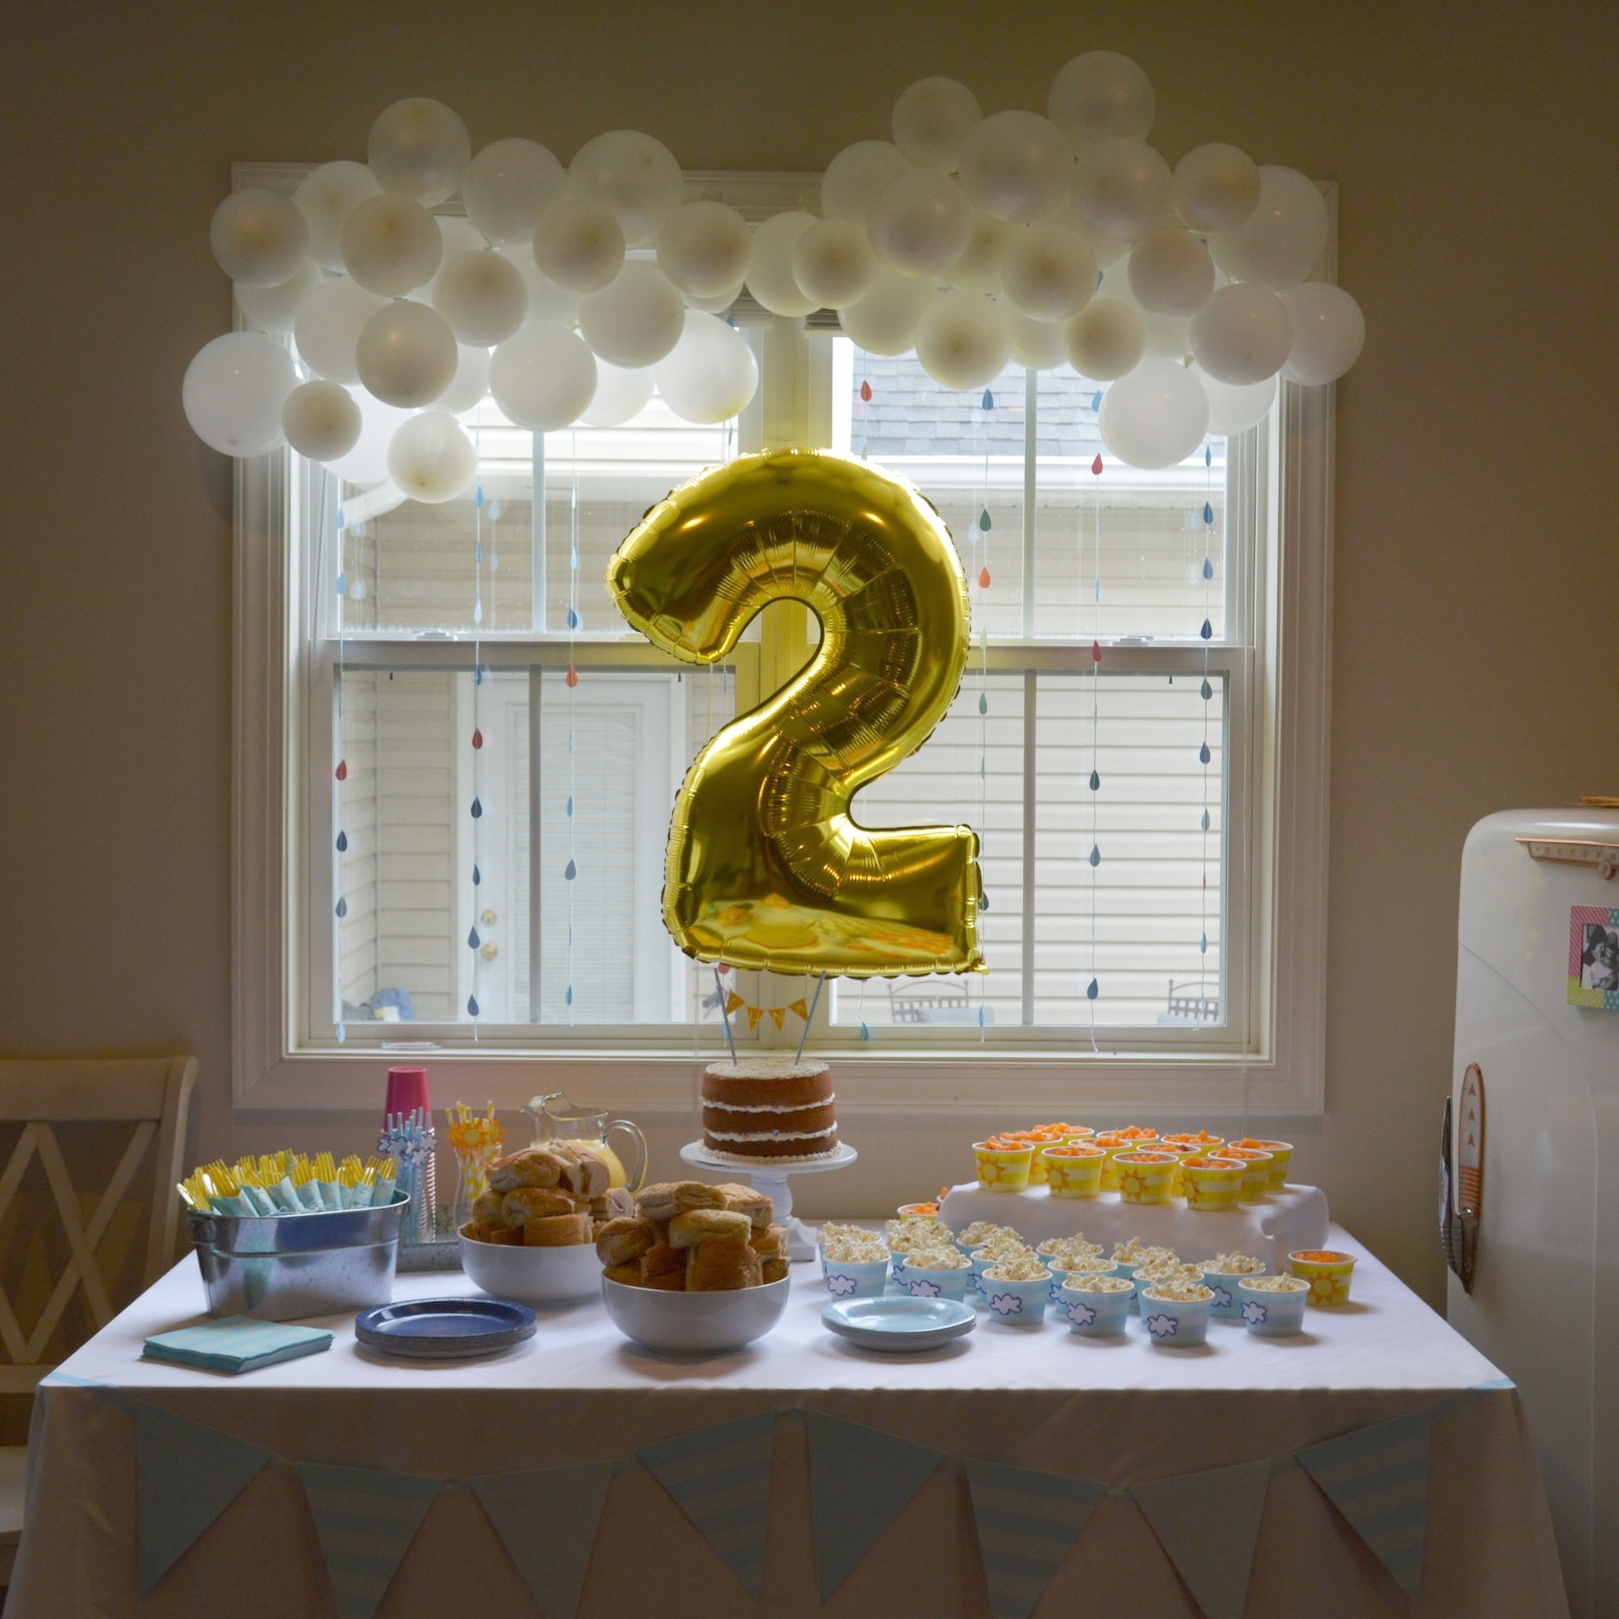
Our party decor included a sky blue banner, a DIY ombre raindrop backdrop, and fluffy white balloon clouds. I also found a giant gold number 2 balloon for only a few dollars at Hobby Lobby - a perfect addition to the backdrop!
We covered the table in a white linen tablecloth and added some more fun elements from Hobby Lobby: sunny yellow forks peeking out from cloud-blue napkins, layered blue plates, fun snack cups, and paper straws in blue and yellow.


As for the accents - the little white clouds, the two-tone suns, the raindrops - those were all done BY HAND! It would have been soooo much easier if I had one of those crafting machines that does the work for you ... but I don't. Instead, I used a sharpie to draw cloud/sun/raindrop templates, traced them on card stock paper, and then cut each piece out individually. Then I used a hot glue gun to glue the pieces onto straws, cups, and strings for the backdrop. It was kind of nuts! But also really fun! Were the decorations perfect? Not even close. But I don't think Luna minded and I was really happy with how it turned out :)
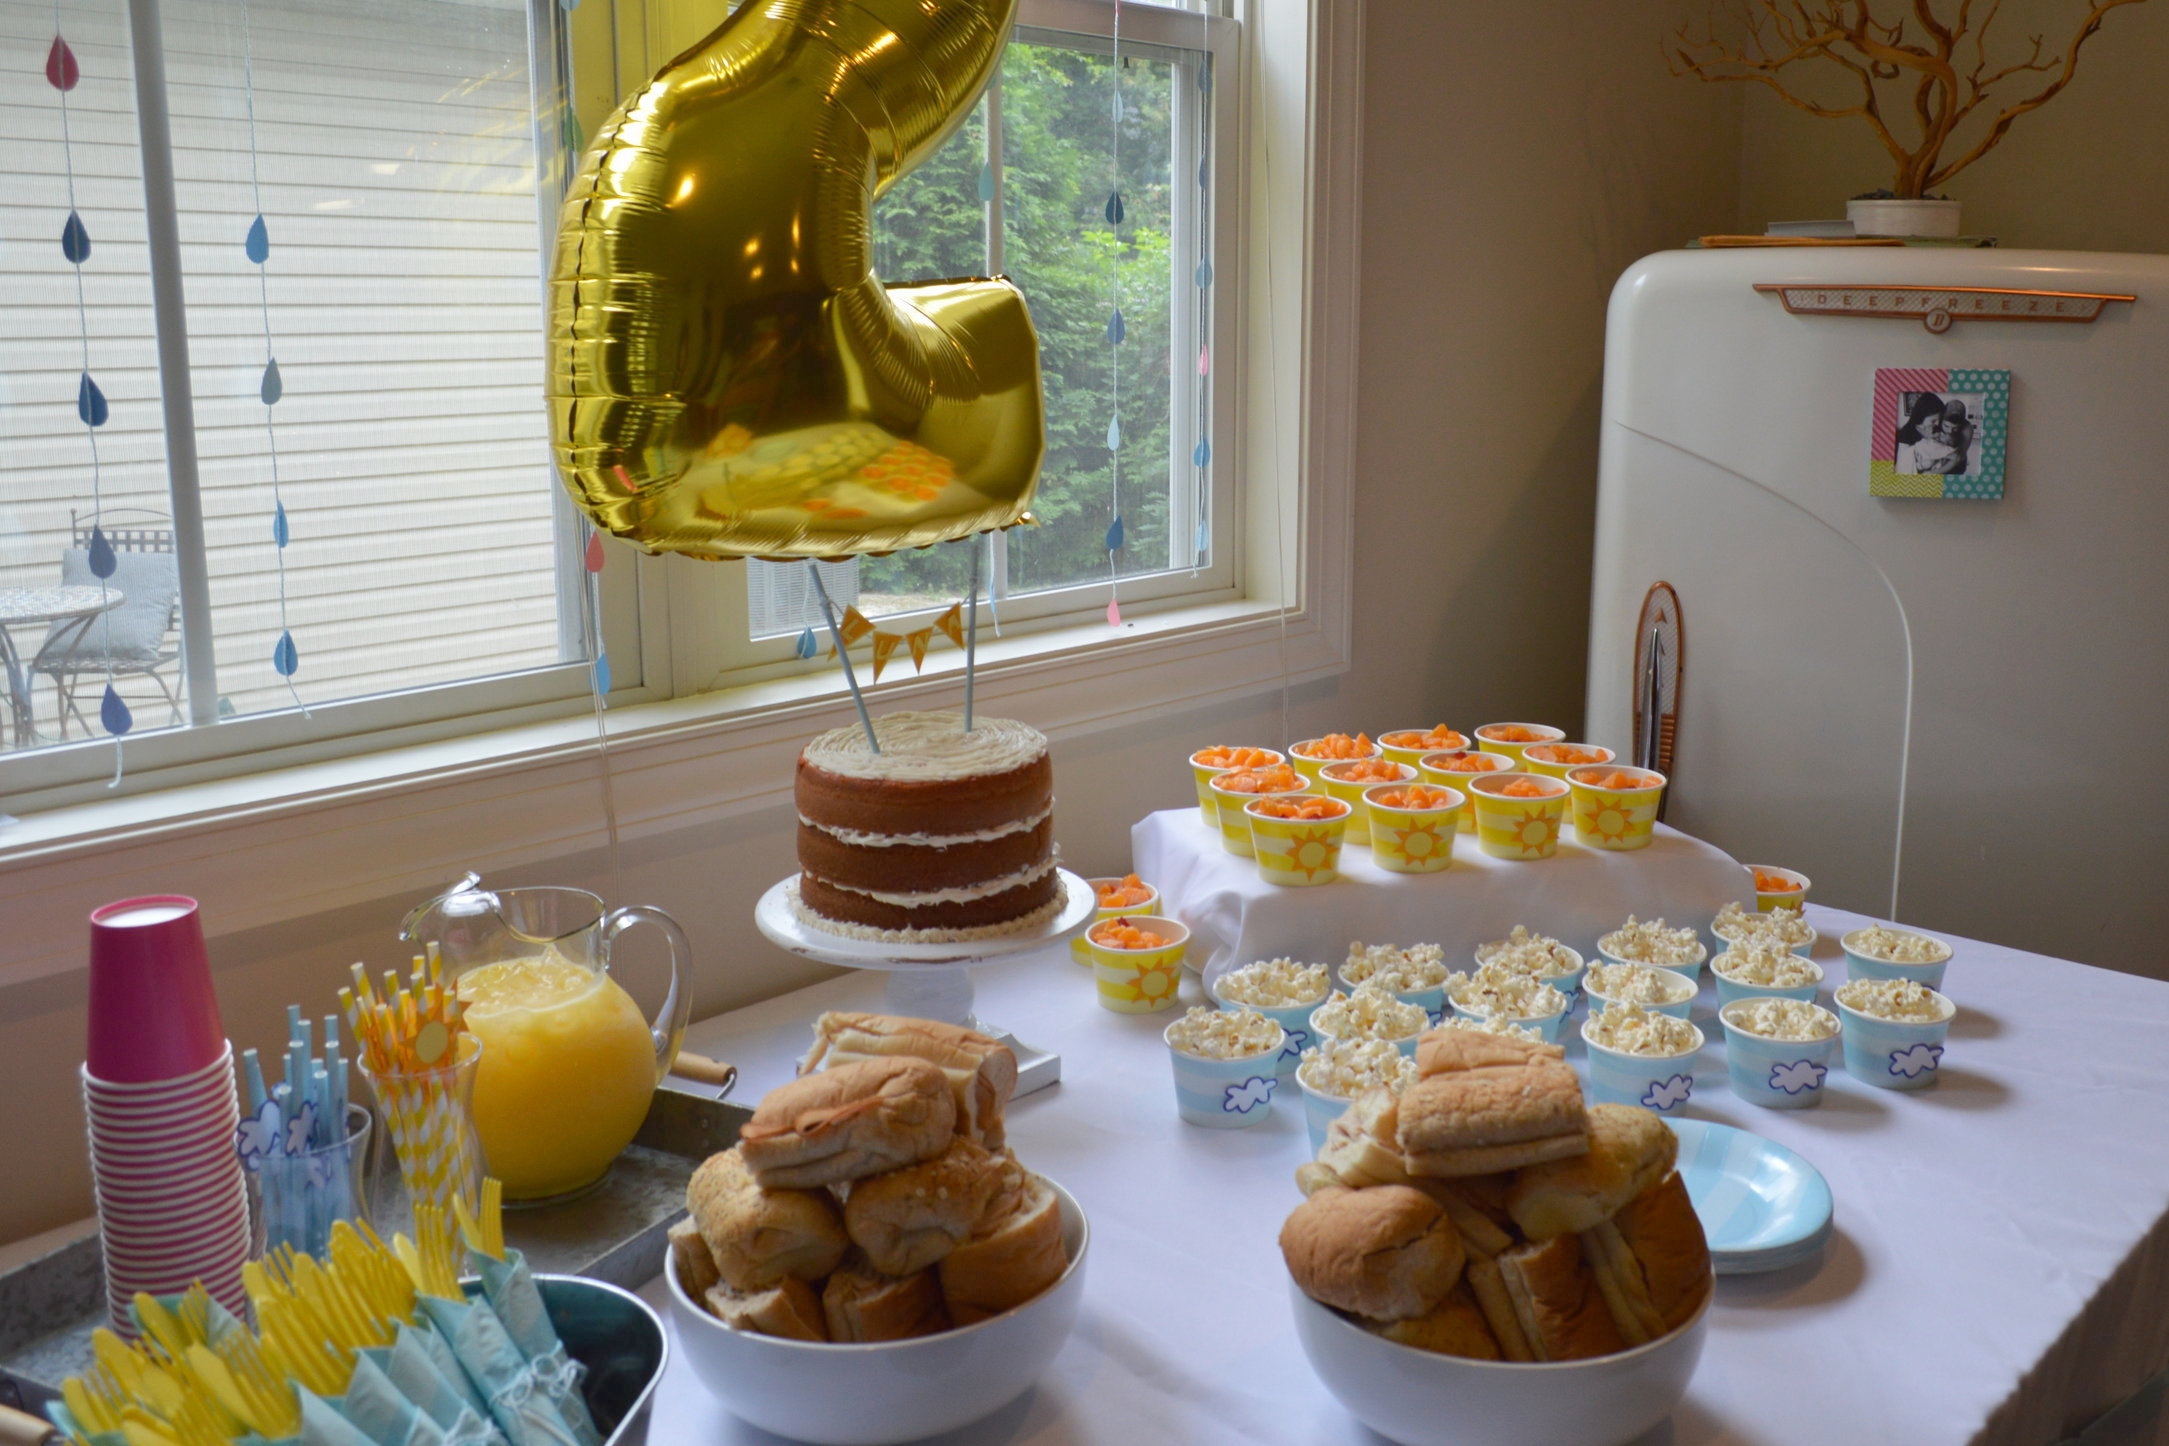
For refreshments, we served fluffy white popcorn, cups of diced fruit (apples, strawberries, and halo oranges on top), and fresh iced orange juice. We also ordered catering from Subway. As a parent, I always appreciate when there are healthy options for Luna so I wanted to do the same for her party! Well, mostly .... we still had cake and ice cream!
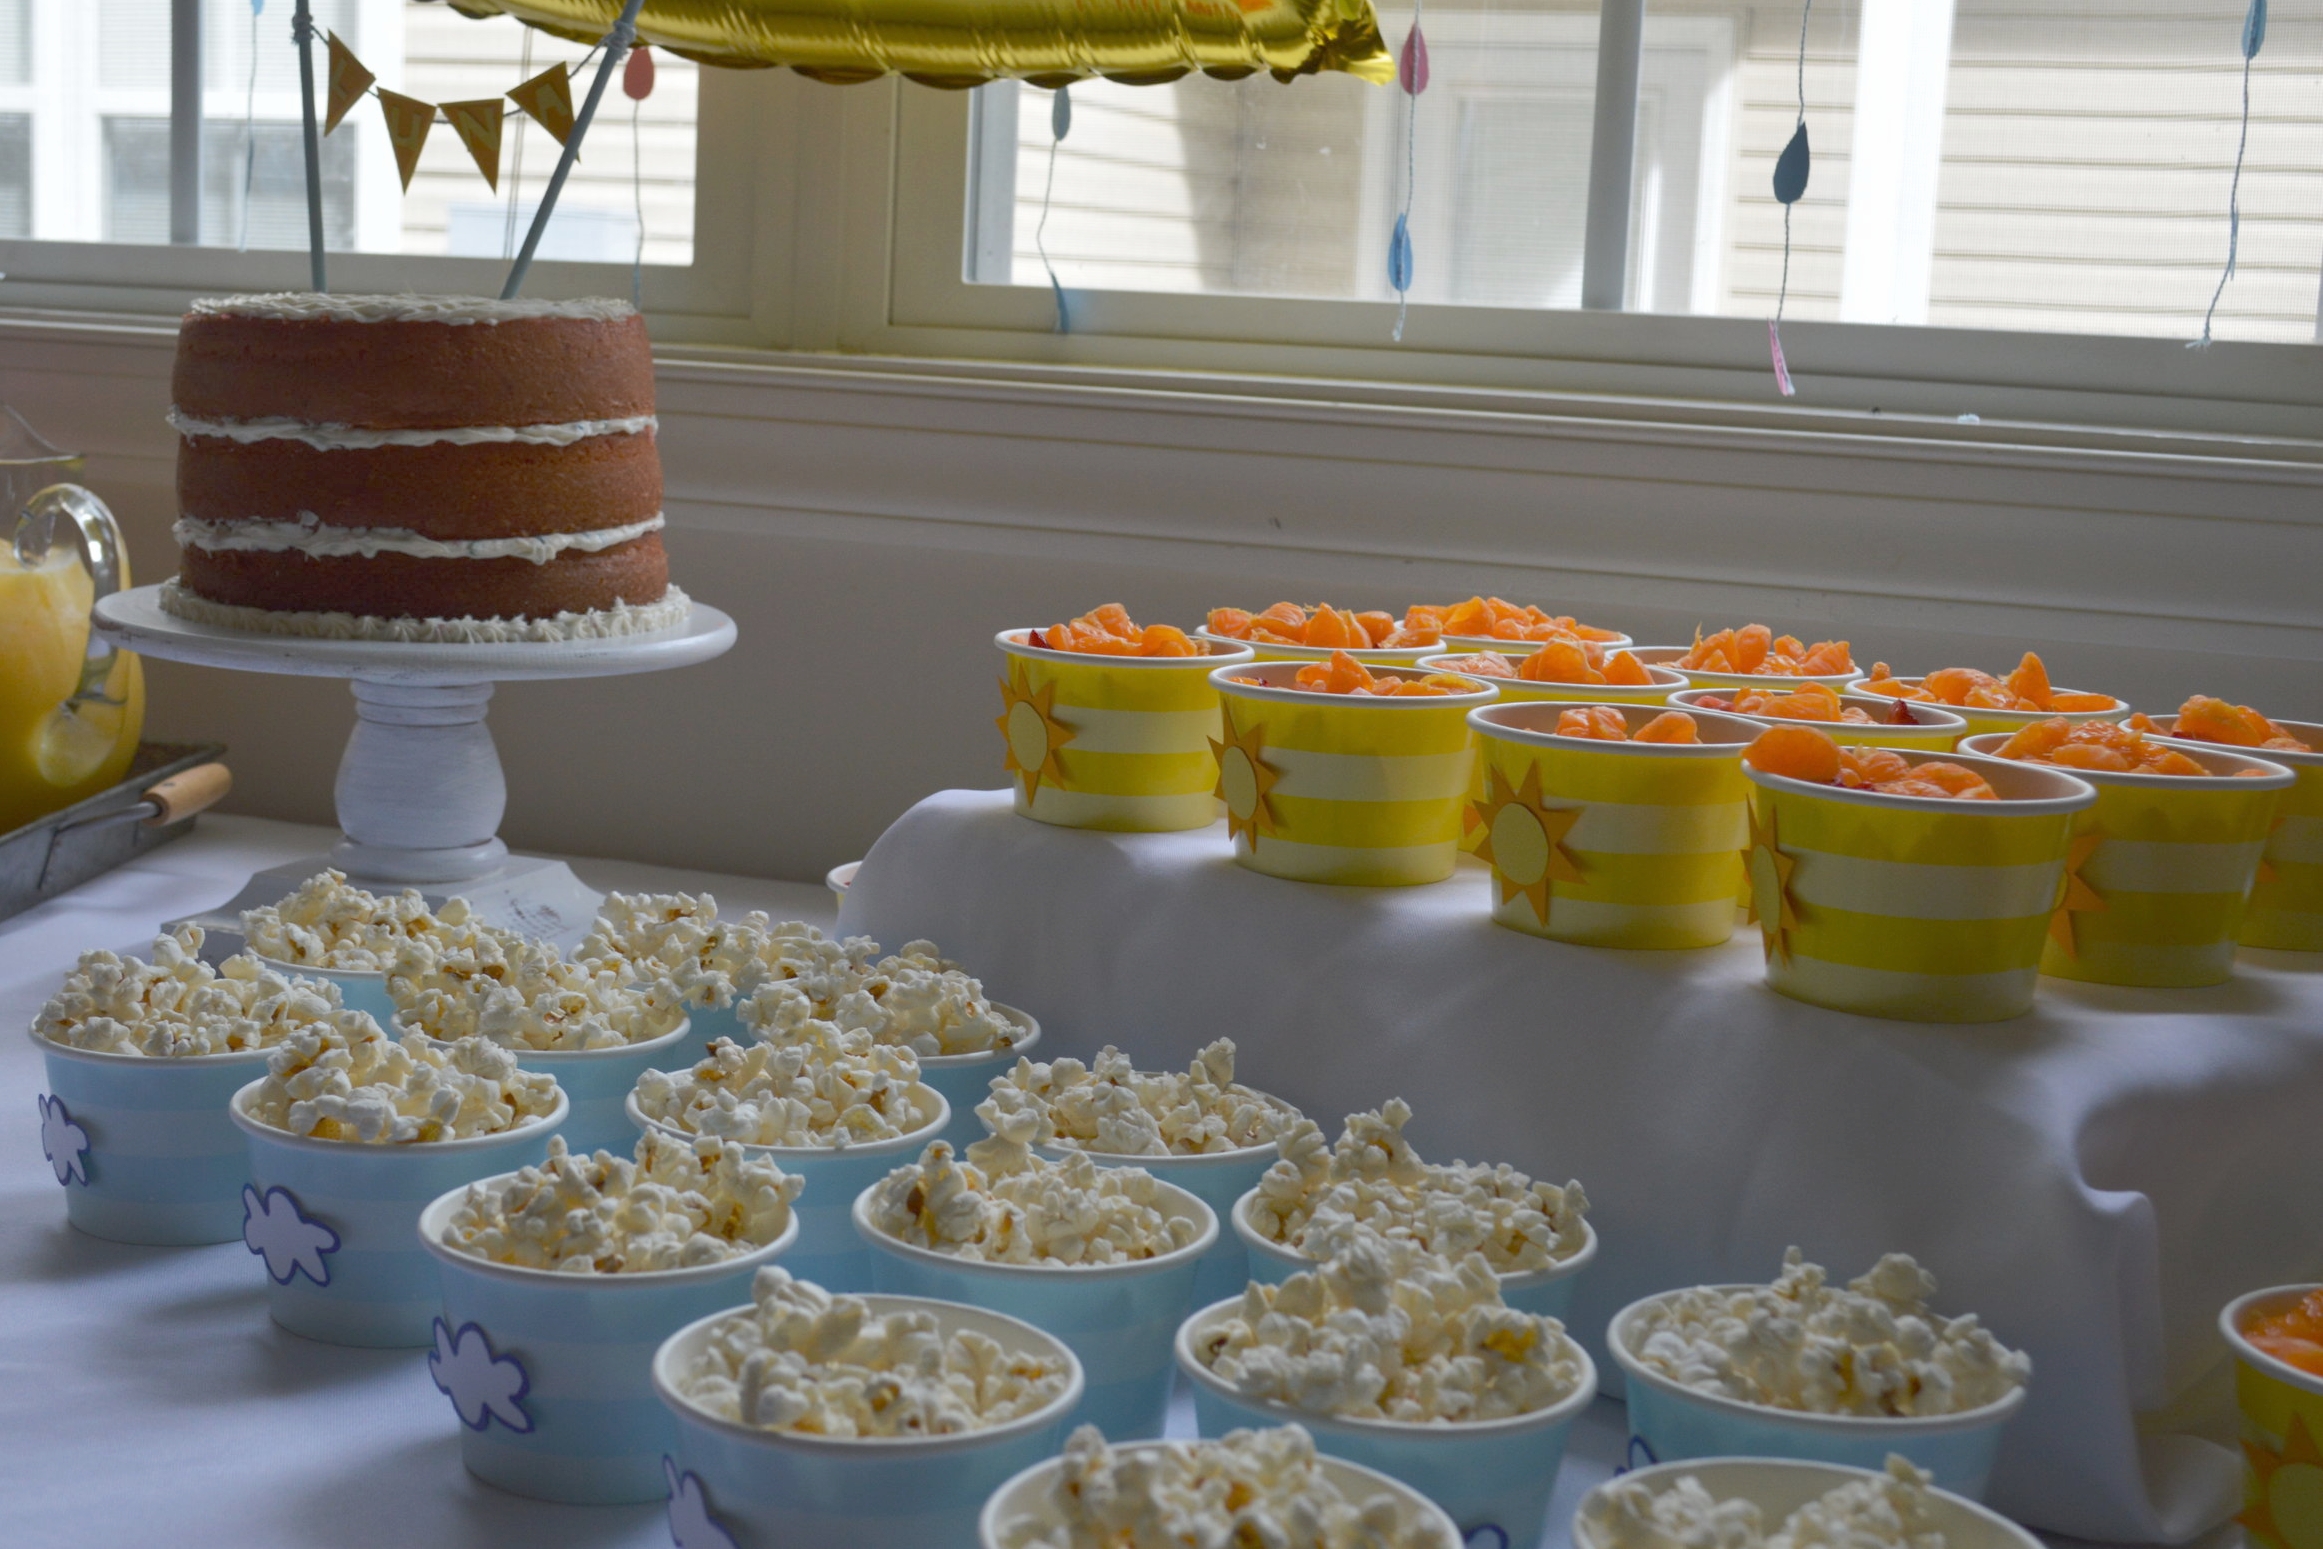
Tiered cakes are my absolute favorite - especially bare cakes. They look really put together, plus they're easy to make at home. This was actually my second time baking a bare tiered cake - I also made one for Luna's unicorn-themed birthday party last year!
I did consider baking a cake with rainbow layers this year ... it would have been PERFECT with the Rain or Shine theme, right?! But that would have taken a lot of effort and extra time that I didn't have. And since I was using pink as an accent color, it was just easier to make a boxed strawberry cake and call it a day.


Lastly, we topped the cake with a little handmade banner (two paper straws, decorative string, and little hand-cut triangles spelling out Luna's name). It was just one more way to celebrate our sweet girl's big day. Two years down and a lifetime to go ... and rain or shine, I wouldn't change a single second of our time together.


With love,
Lace